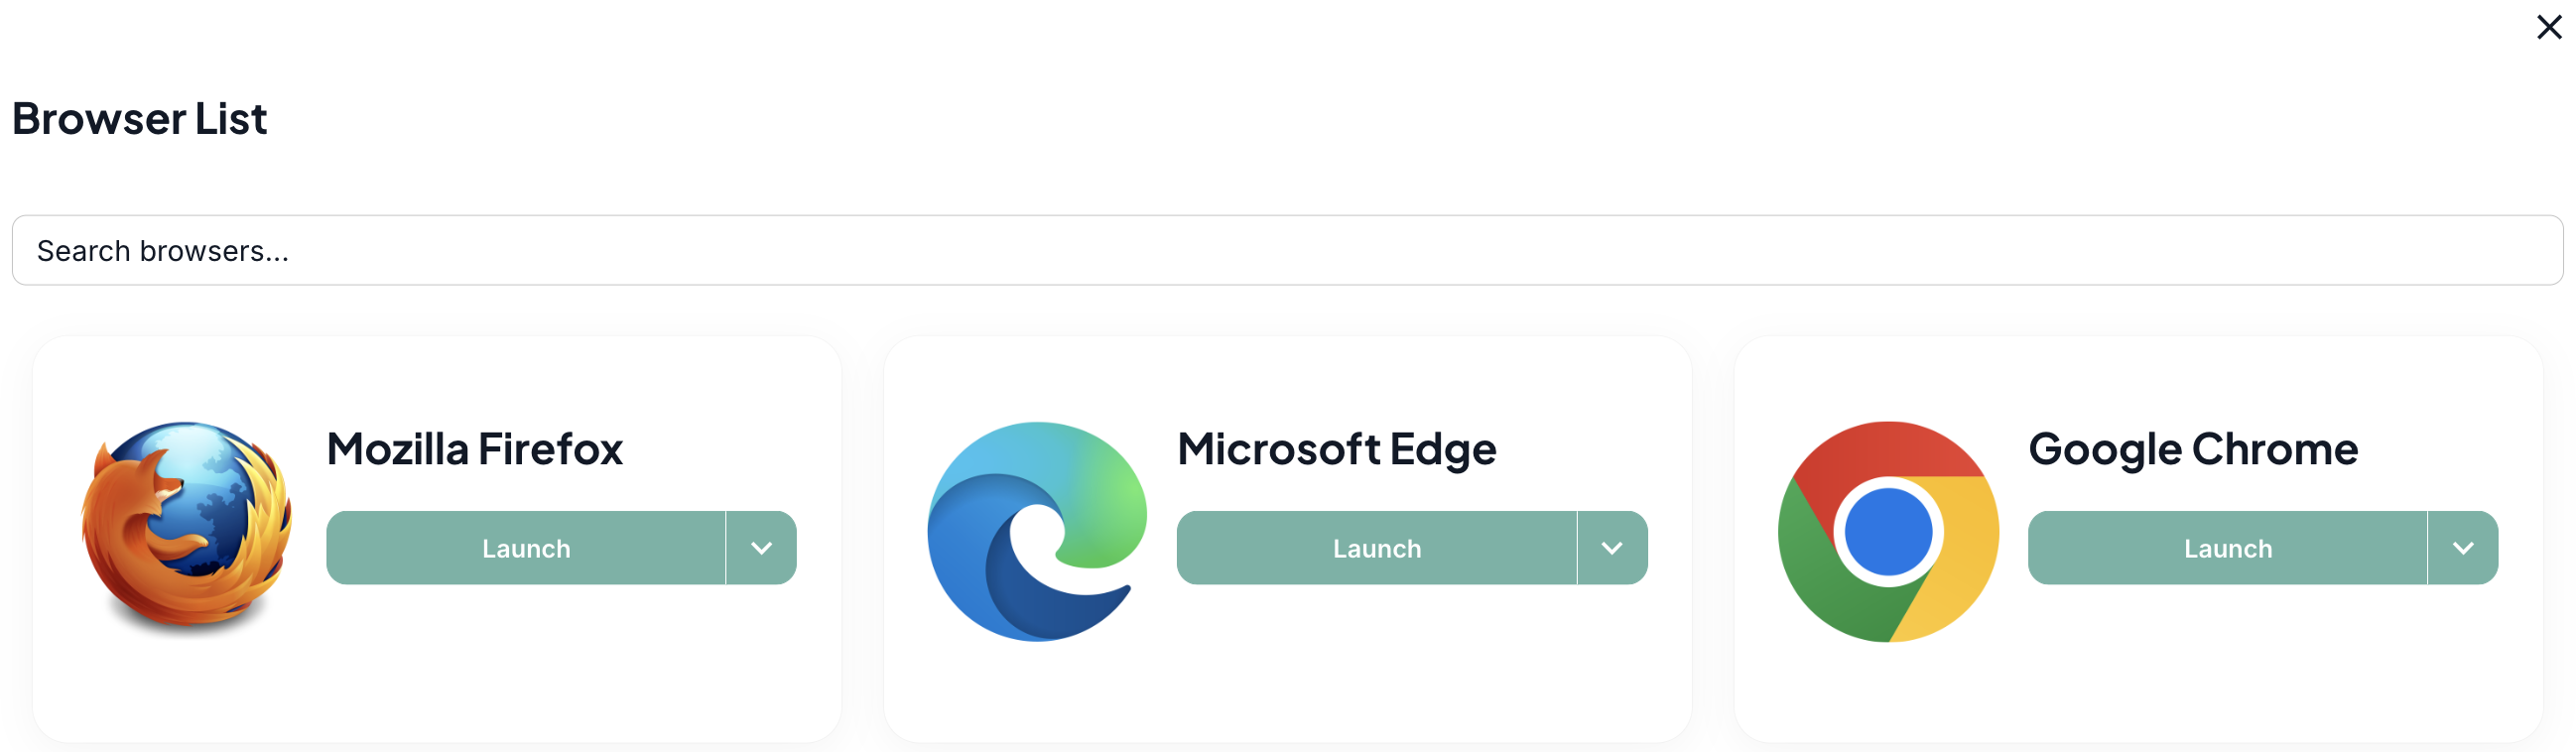
Browser List
The Browsers page lists both cloud-based and manually added local browsers.
You can filter by browser name in the Search Browser.

Local Browsers
To run tests on a local browser on your system, save it using the Add Local Browser button.
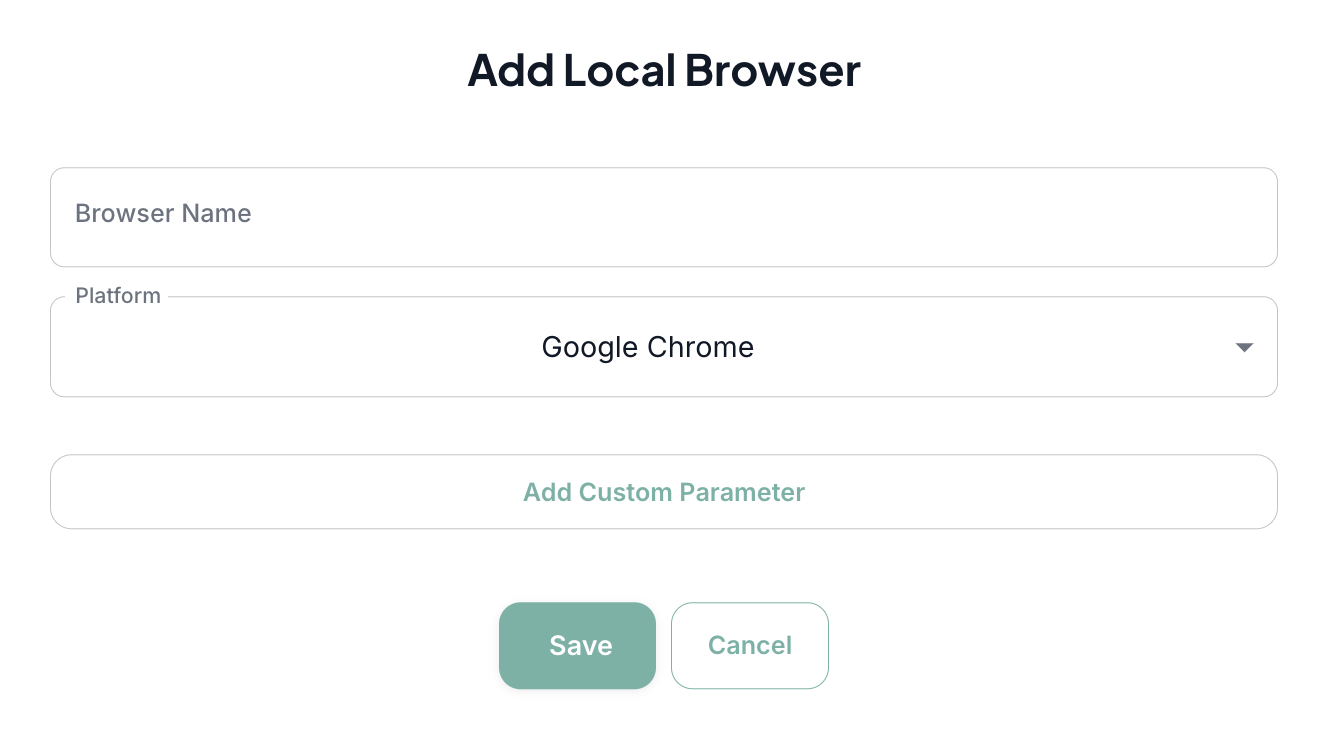
In the Add Local Browser modal;
-
In the "Browser Name" section, enter the browser you want to add (e.g., Google Chrome).
-
Select the platform (Chrome, Firefox, Edge, Safari, Opera) from the dropdown.
-
If your tests require specific configurations, use the Add Custom Parameter section to define them.
-
Click "Save" to add the browser or "Cancel" to exit without changes.
Once saved, the browser will appear in your Local Browsers.
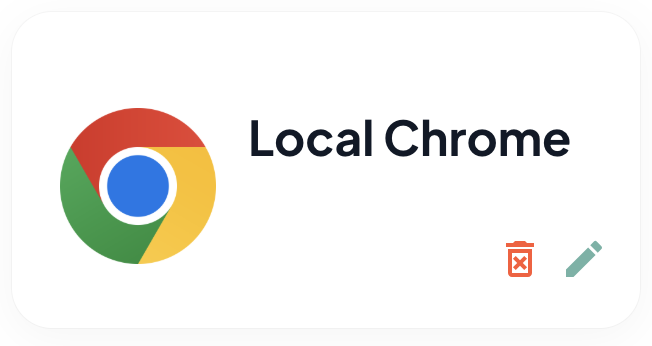
You can delete the local browser or edit its information with the buttons on the browser card.
Cloud Browsers
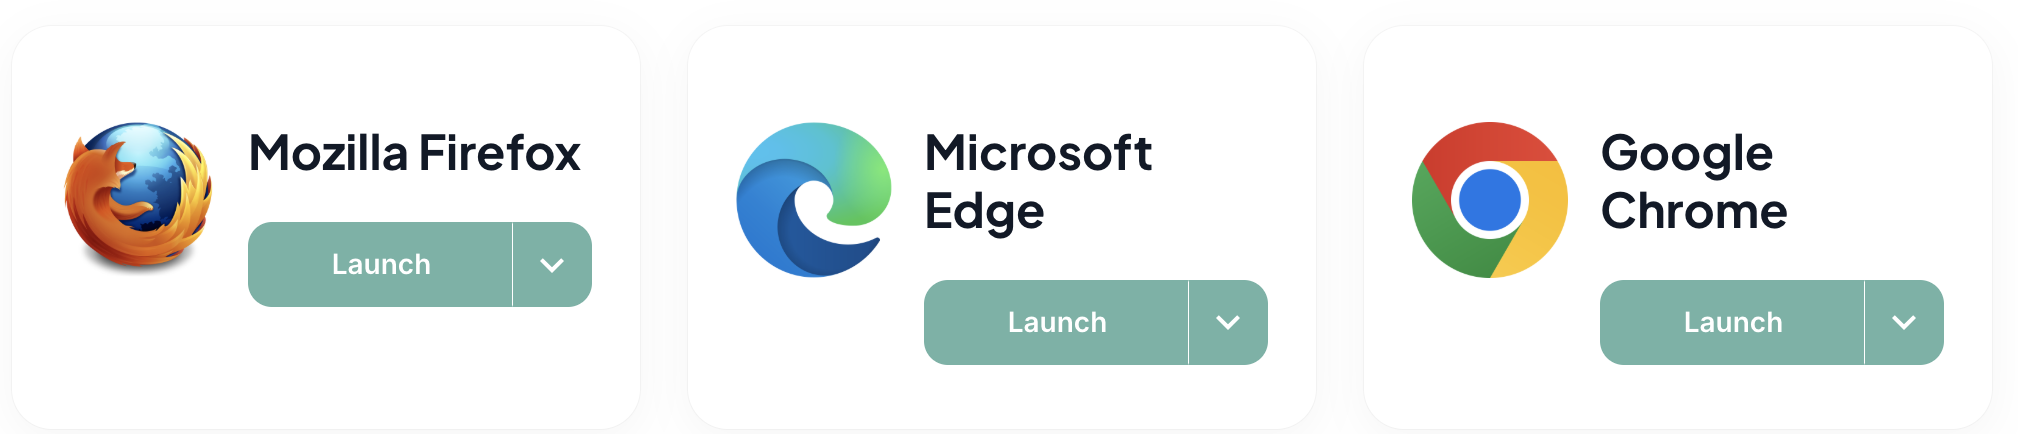
In the Cloud Browsers list;
- Choose the browser you wish to launch.
- Click the Launch button to start the selected browser in the cloud environment.
- To access additional versions, click the arrow next to the Launch button.
- Use the dropdown to select the available browser version.
Once launched, the browser will open in a secure cloud-based session for your testing or browsing needs.
Clicking Launch directly will start the browser with the latest version by default.
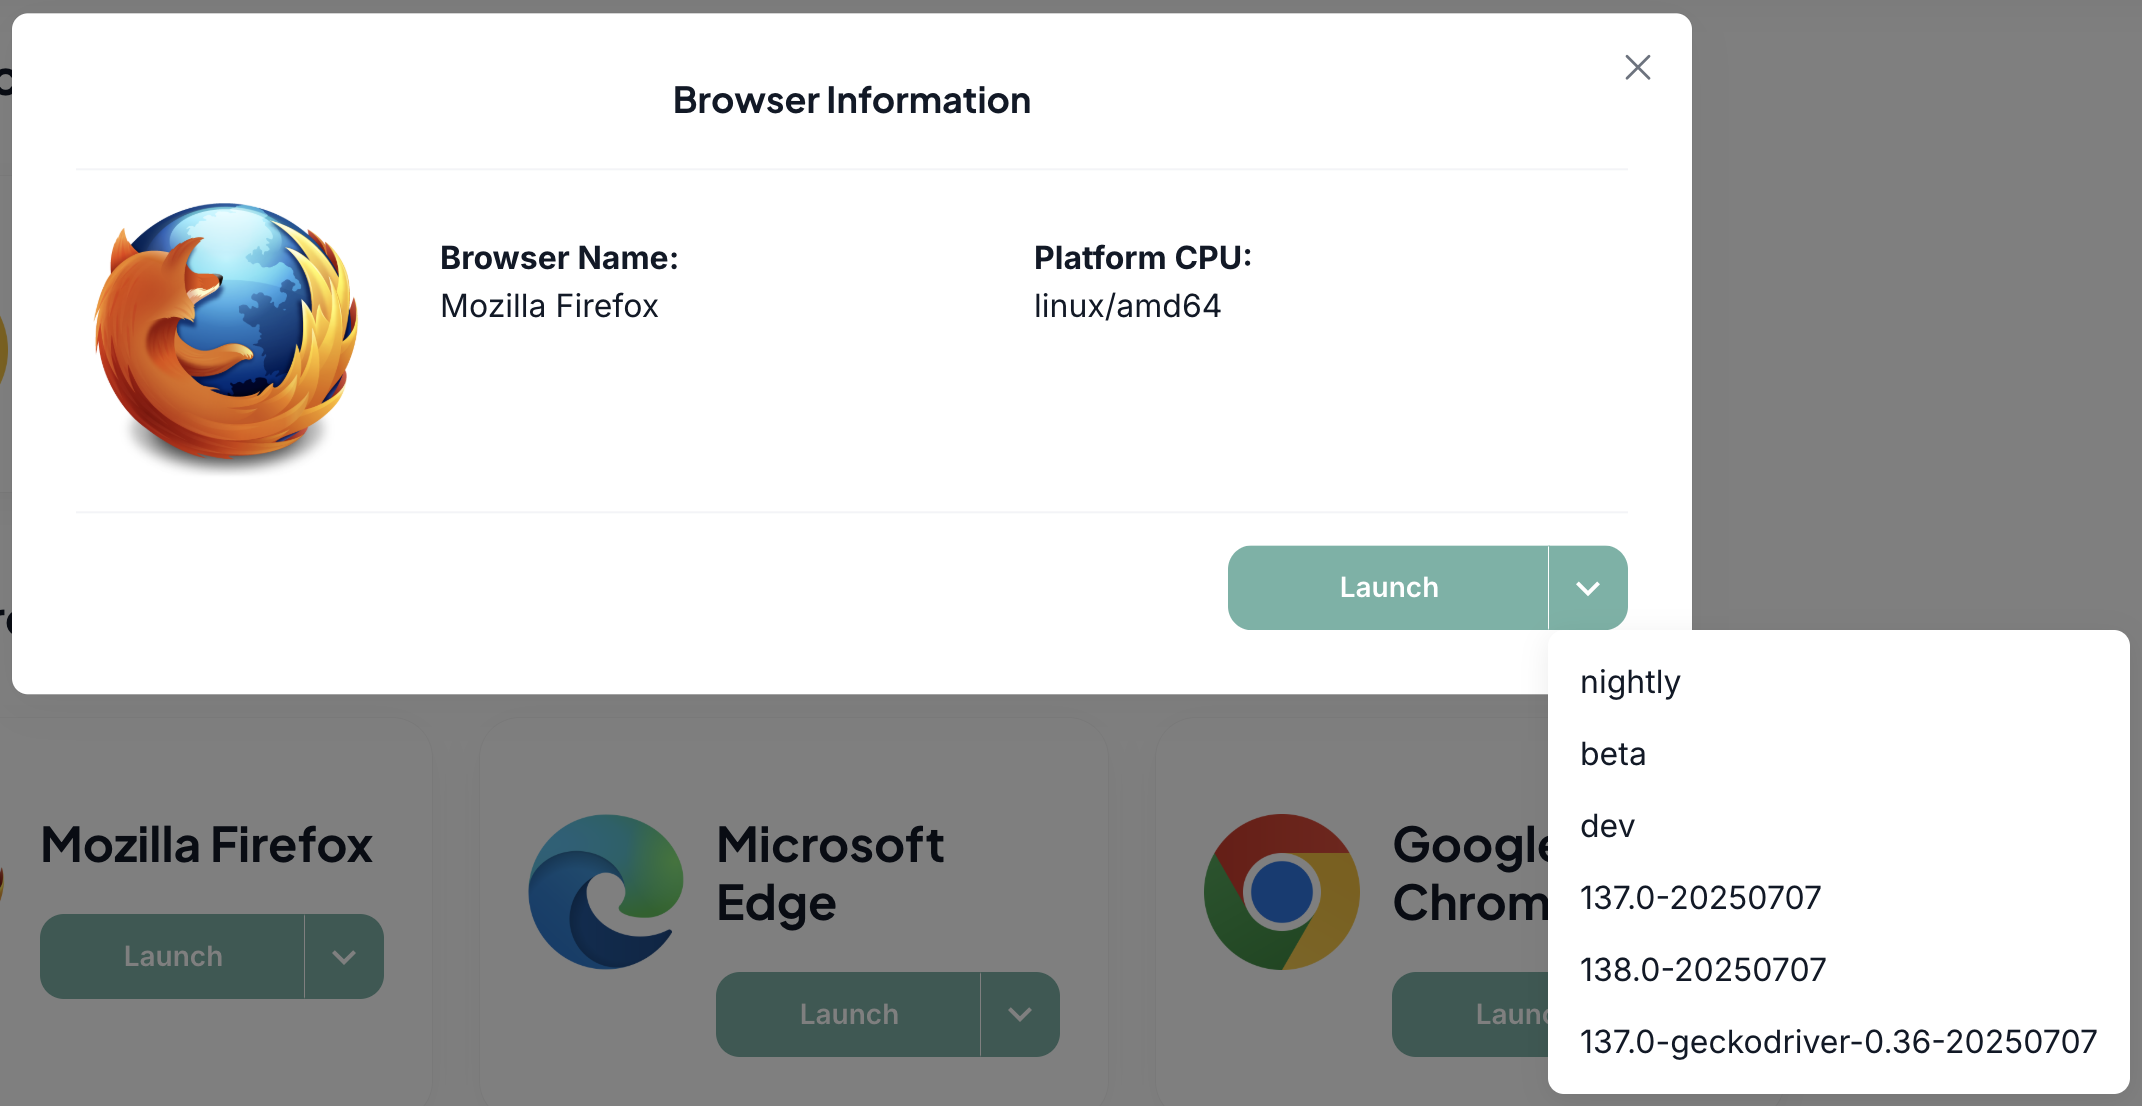
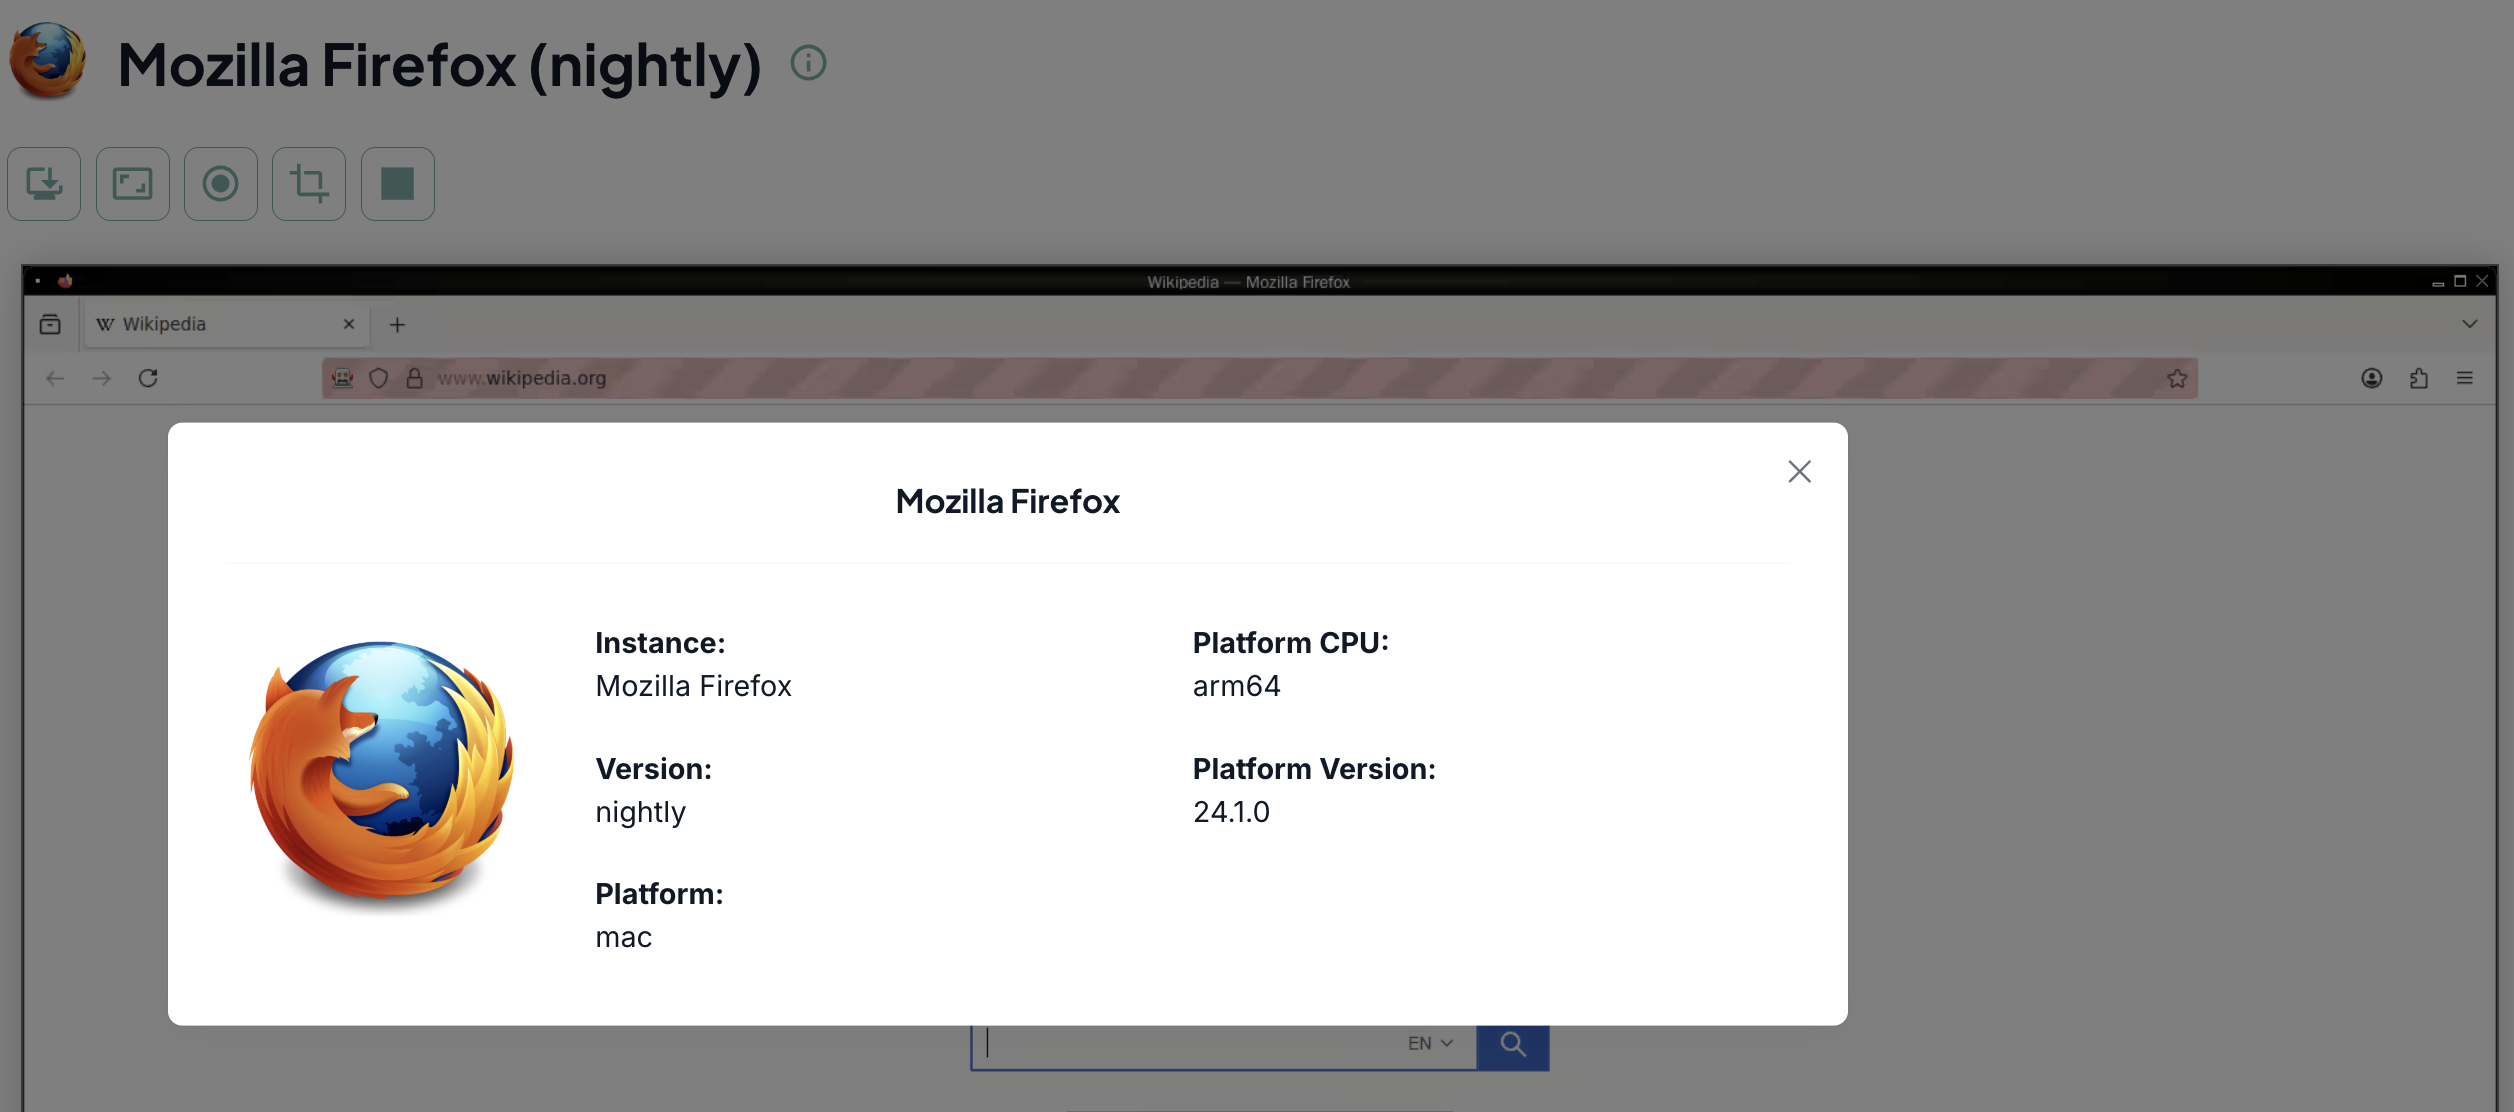
If you click the browser card, you reach Browser Information.
You can view the Browser Name and Platform CPU details, select a specific version and launch the browser for use.
Launch Session
This screen displays a cloud-hosted browser environment for hands-on learning or testing.
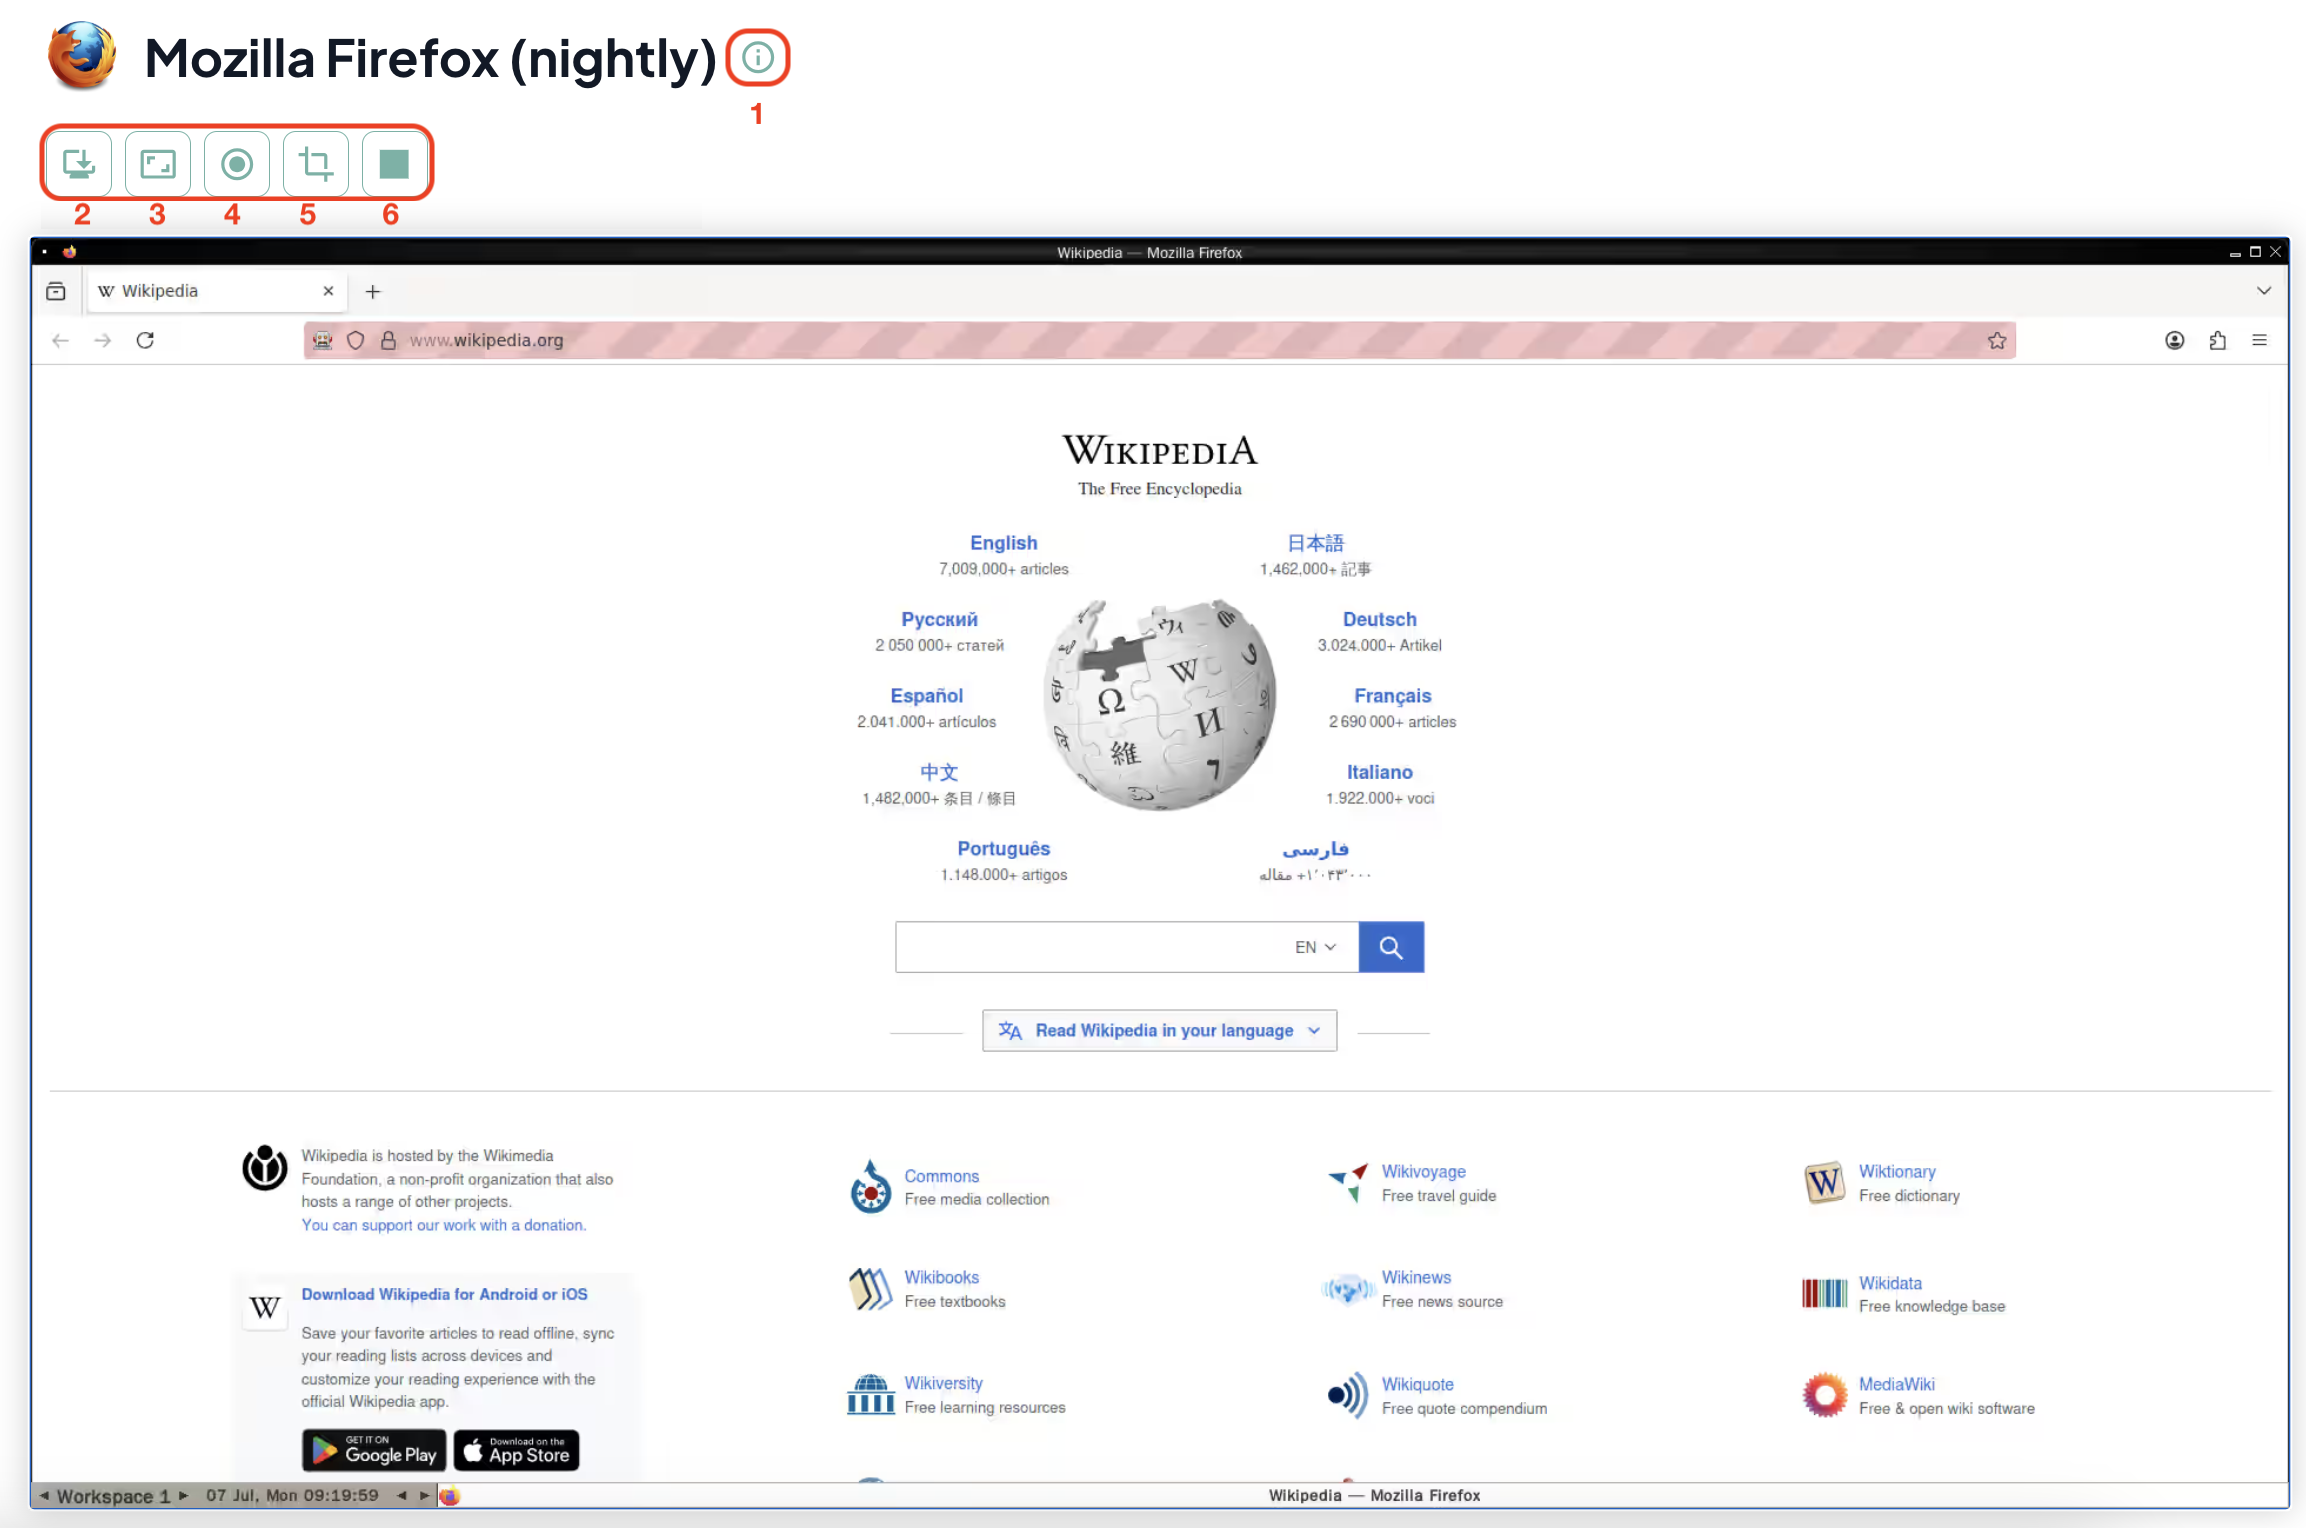
1. Session Info
Clicking the icon opens a pop-up displaying session information.
2. Switch Browser
You can switch browsers by selecting a different browser or version from the list.
3. Change Resolution
You can configure the browser's resolution by selecting a default options or specifying a custom value.

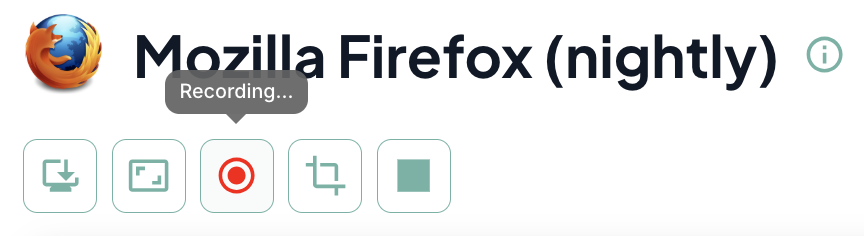
4. Start Record
To start recording your session, click the record button. Once activated, the button will highlight in red to indicate that recording is in progress.
You can stop recording by clicking the same button again.
A pop-up will appear with the message Record Completed! to confirm your action was successful.
Once you click the Details button to view more information about the session record, this pop-up occurs:
When you click Leave Page, the session will end and you will be redirected to the Session Details screen.
Click to see detailed information on Session Details!
5. Take Screenshot
Click the Take Screenshot button to capture the screen, preview the image and download it if needed.
6. Stop Session
Clicking Stop Session will end the current session and return you to the Browser List screen.