TestMore in a Nutshell!
This document provides a comprehensive overview of TestMore services, outlining the steps required to execute a test from its initial setup to completion.
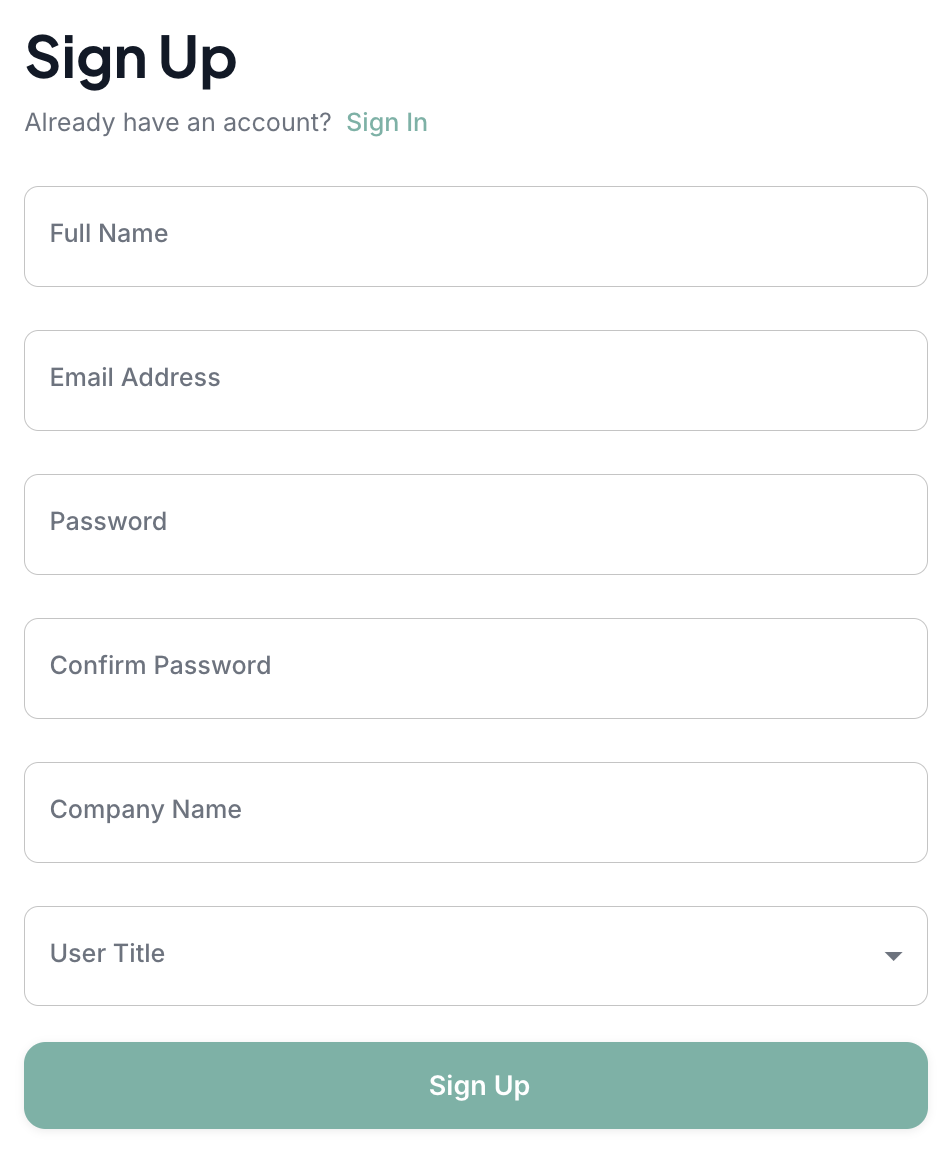
1. Sign Up
The required information is set and the user is created.
2. Add Product - App - Version
Log in on the Dashboard page with user credentials.
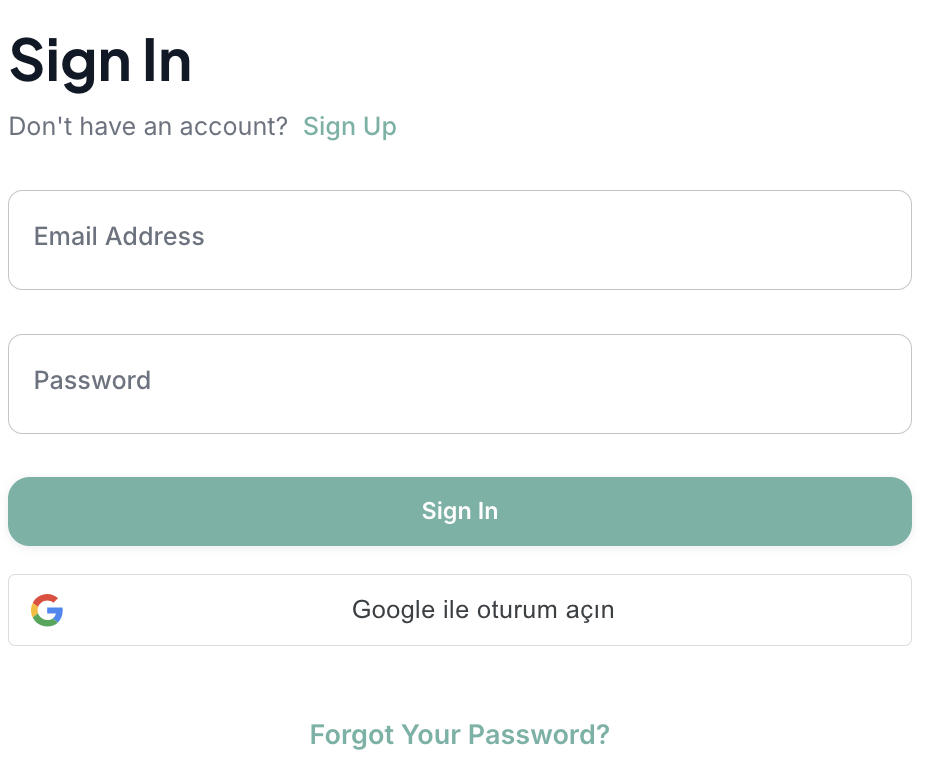
After logging in, the TestMore Dashboard is displayed.
To perform actions about your application in TestMore, you must introduce the application to the system.
For this:
- Click on the Test Automation section on the left menu.
- Click the "+" button at the top right of the screen to add a product.

- The uneditable Organization Name and Product Name textfield will be seen in the modal. Product Name is required.
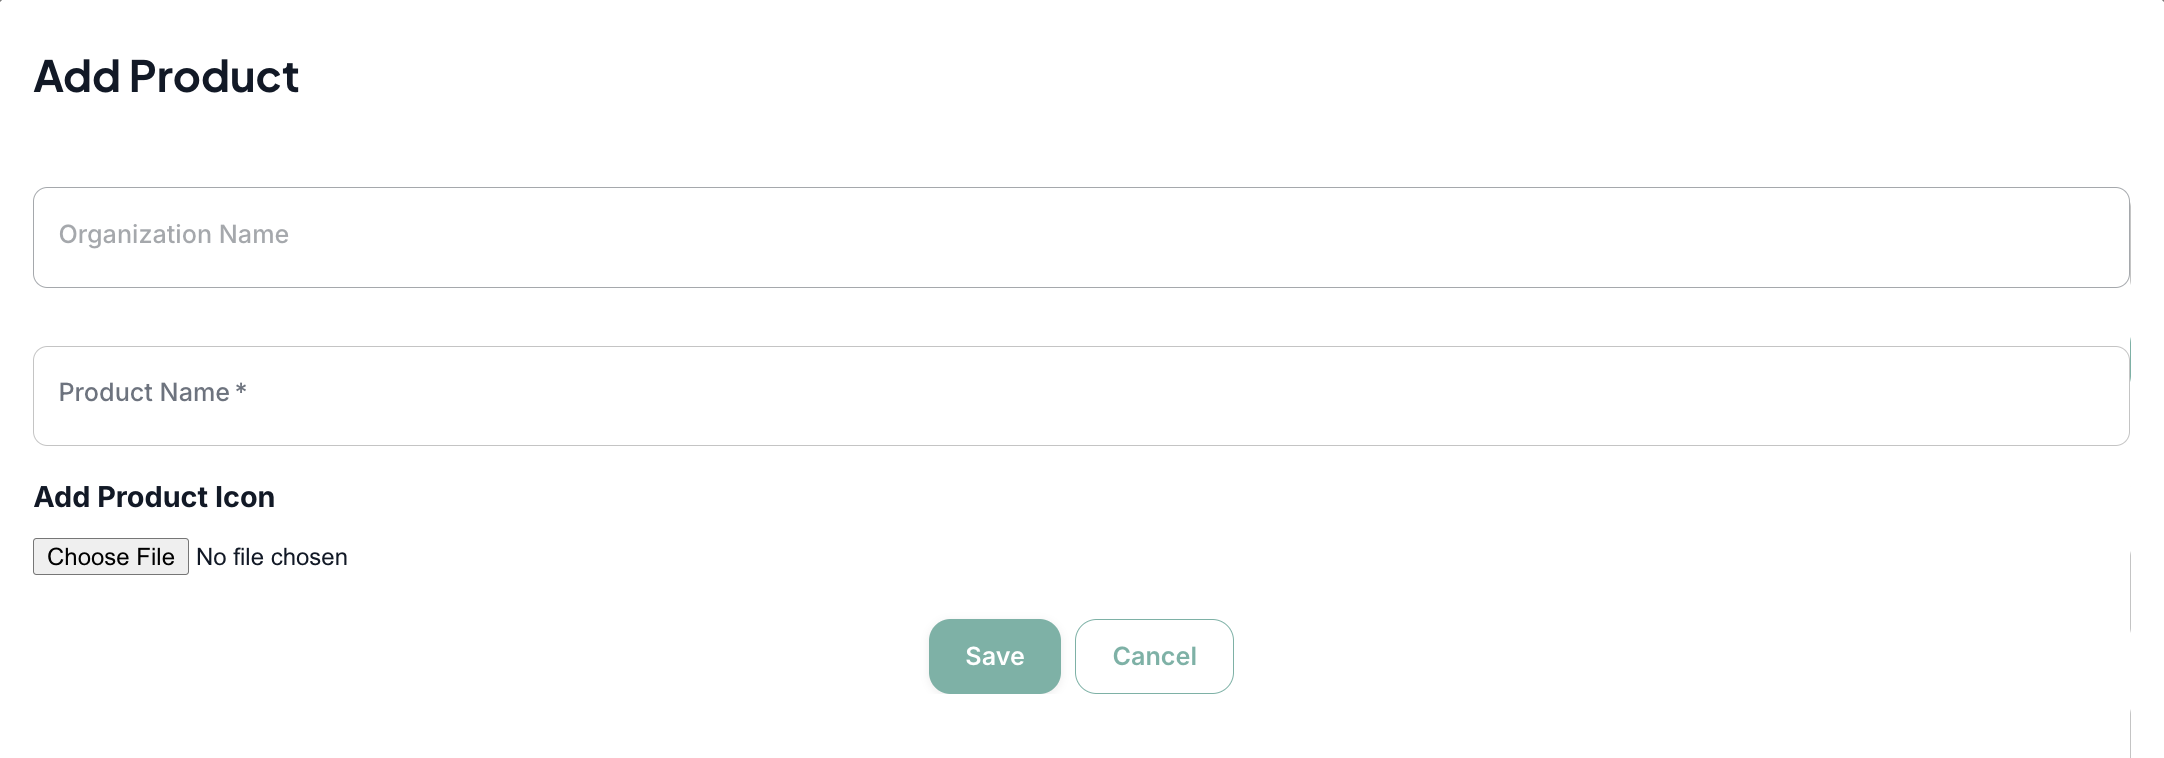
- Optionally you can add a product icon. When you click the Save button, the Add App modal will open.
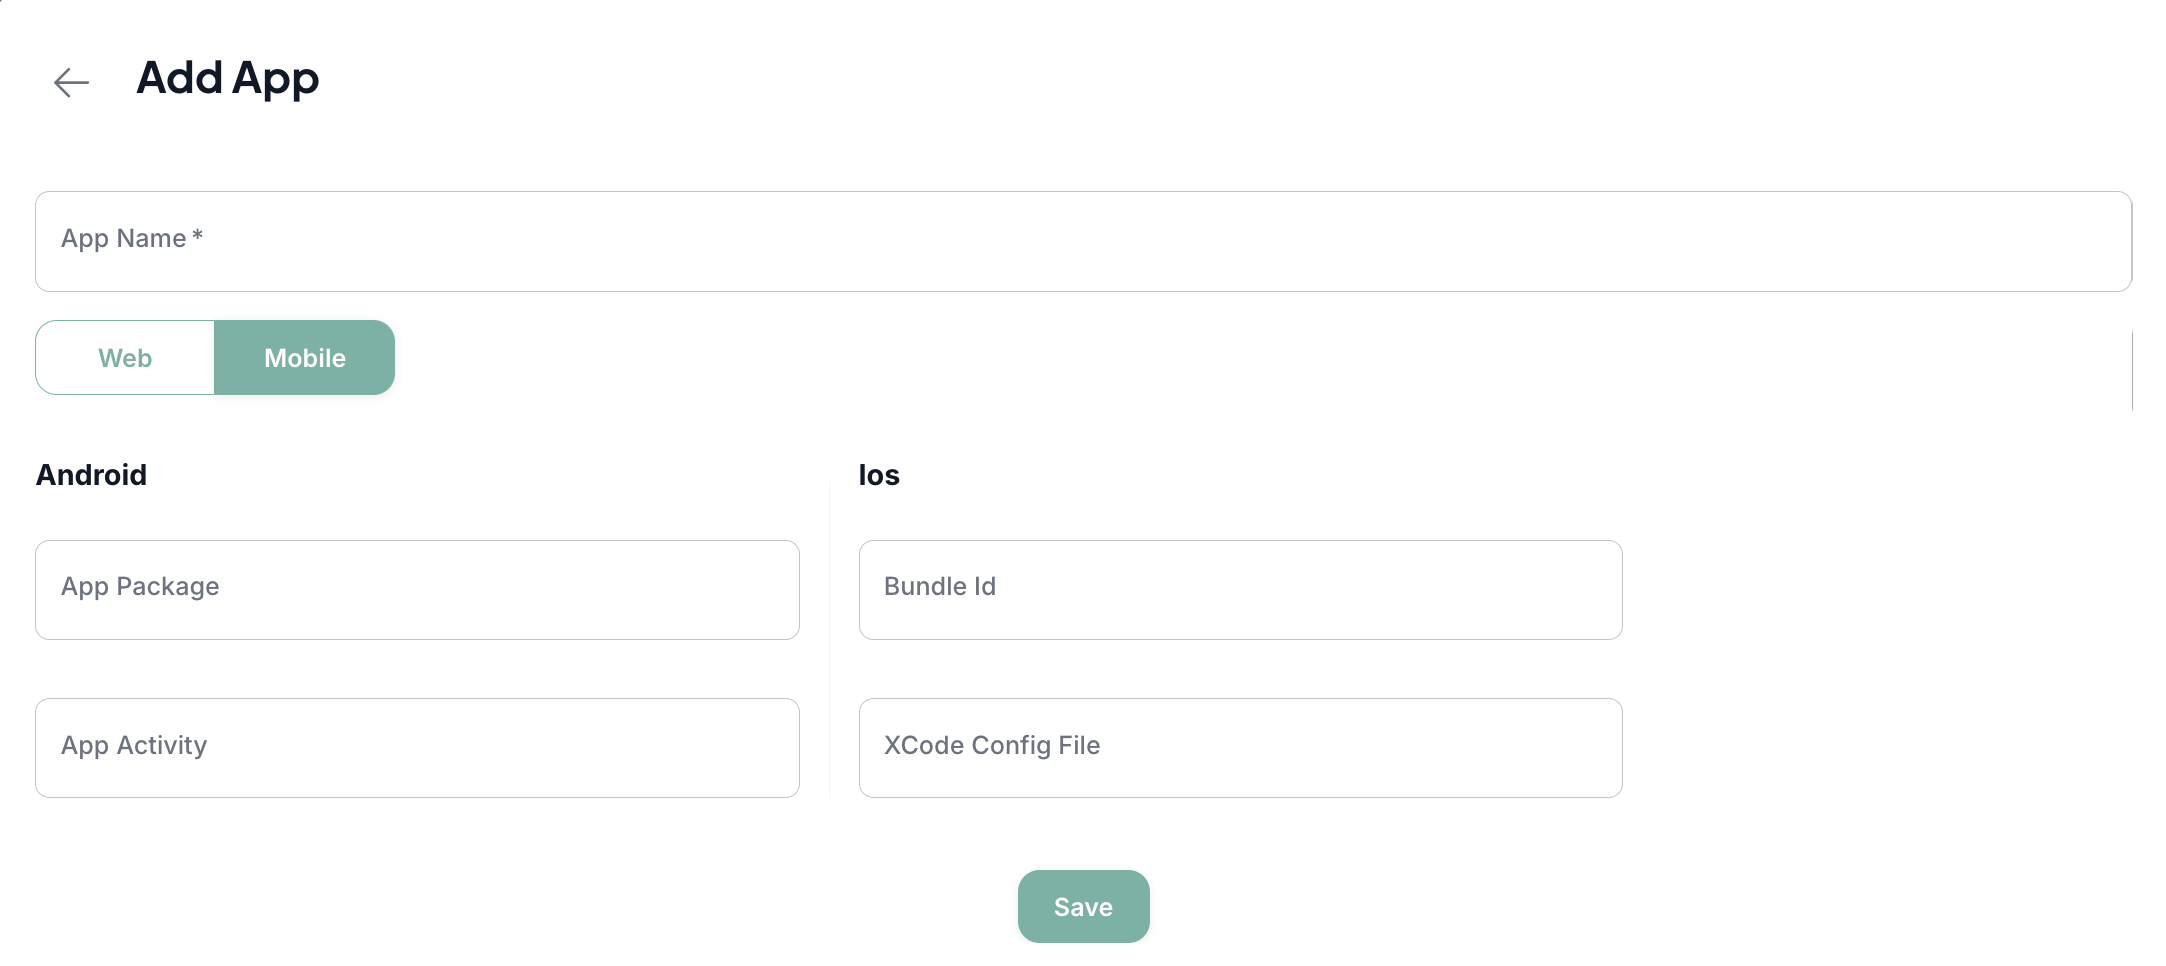
- App Name is required.
- You can also add additional information about the application. The Save button will take you to the Add Version modal.
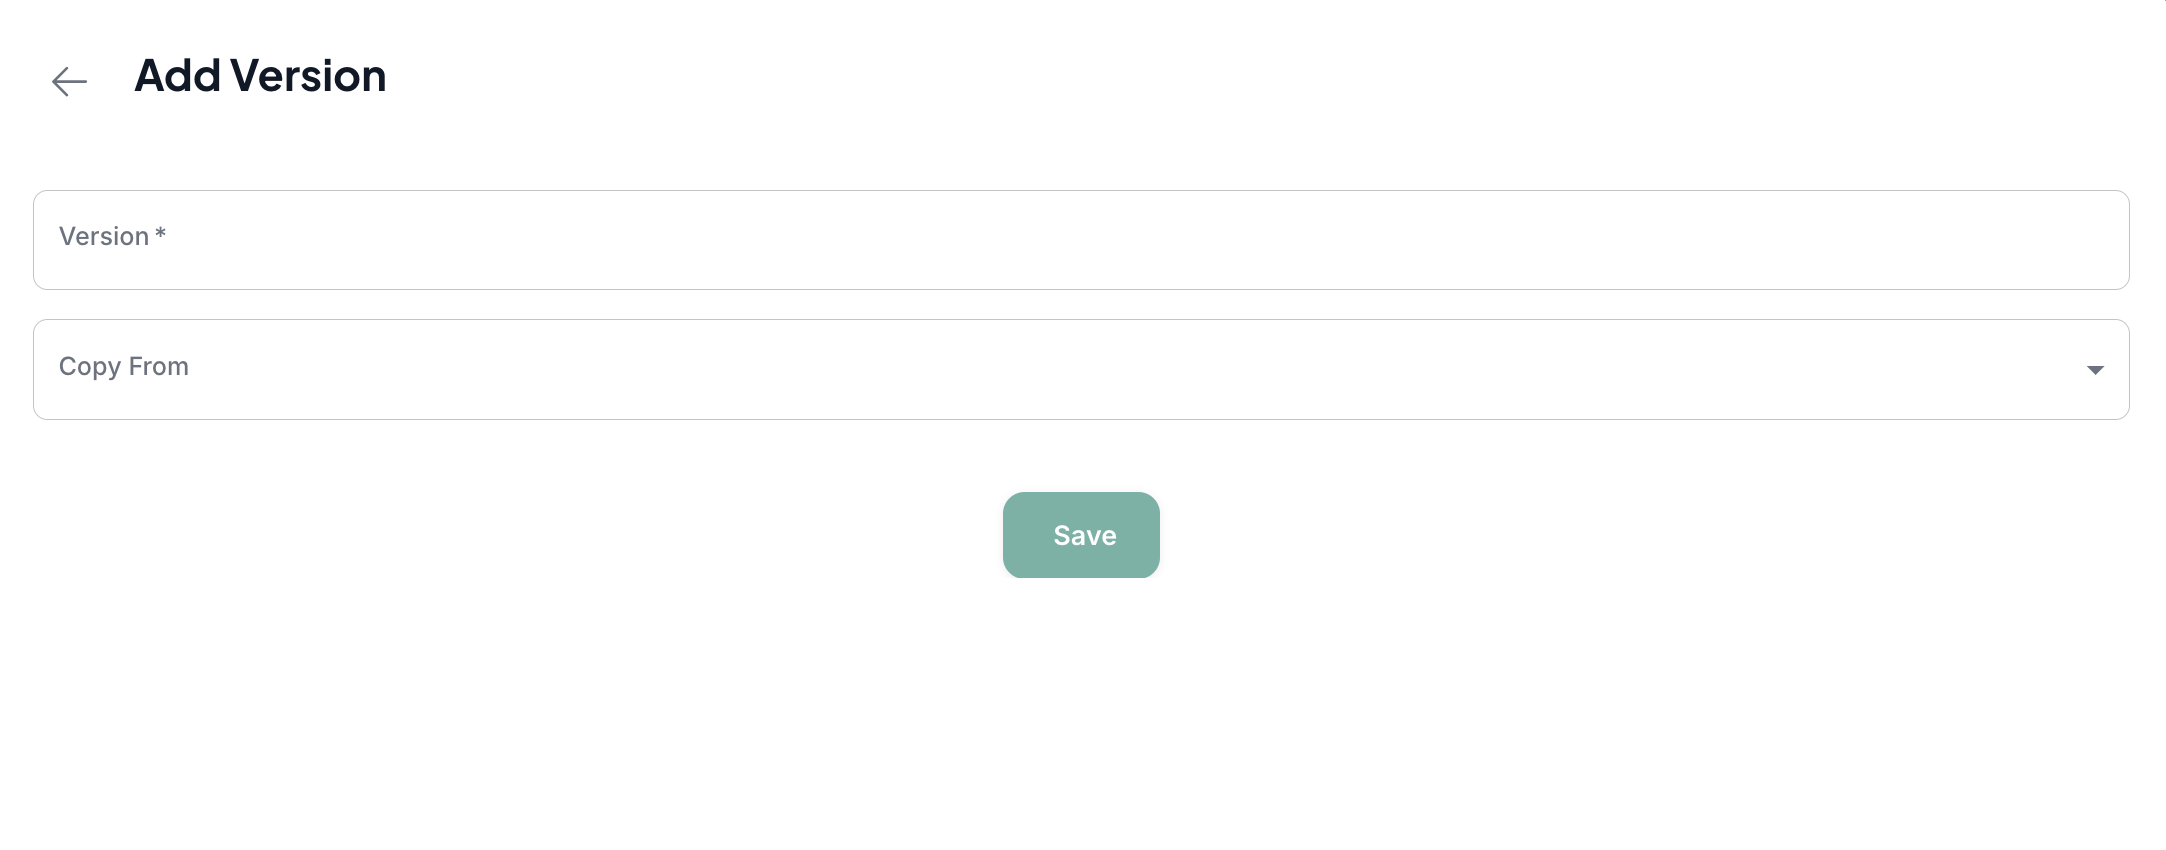
- Version is required.
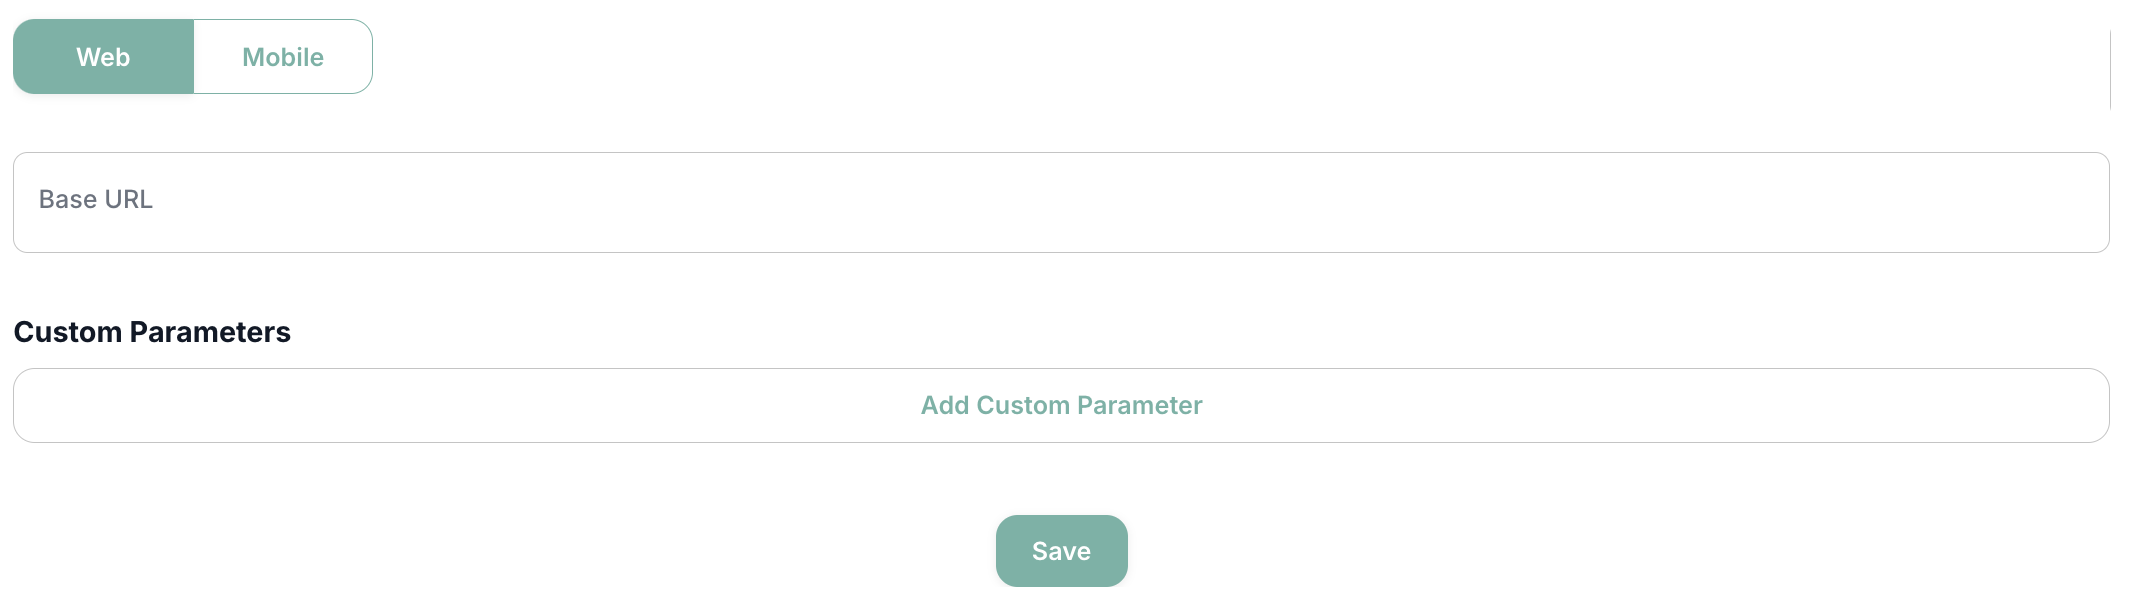
- If there is a previously added application and version, you can add it by copying it from the "Copy From" section when adding a new version.
- When you click Save, the Product, App and Version data will be saved and selected.

3. Add Screen
- Click on the "Screens" field in the left menu to define the screens to be used when creating the scenarios. Click the "+ Add Screen" button in the upper right corner of the page that opens.

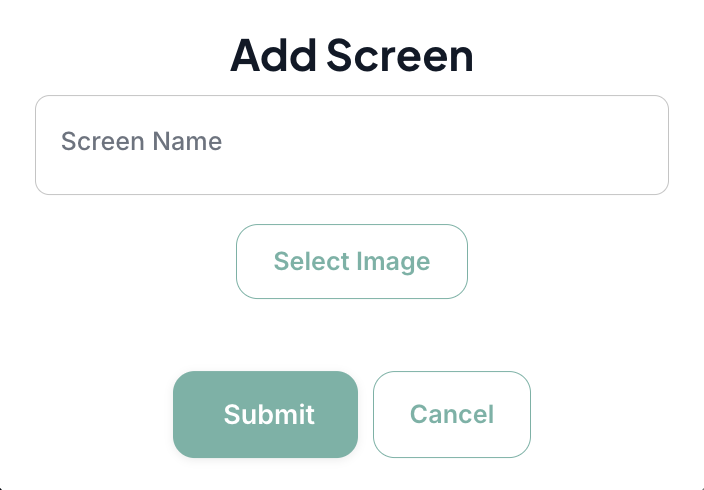
- On the page that opens, give the name of the screen to the "Screen Name" textfield.
- Add an image of the page, it can be added by clicking Select Image. Click the "Submit" button at the bottom and save.
- After saving the screen, it is seen that the screen is added and the Elements, Unexpected Elements, Edit and Delete buttons are displayed on the Screens page.
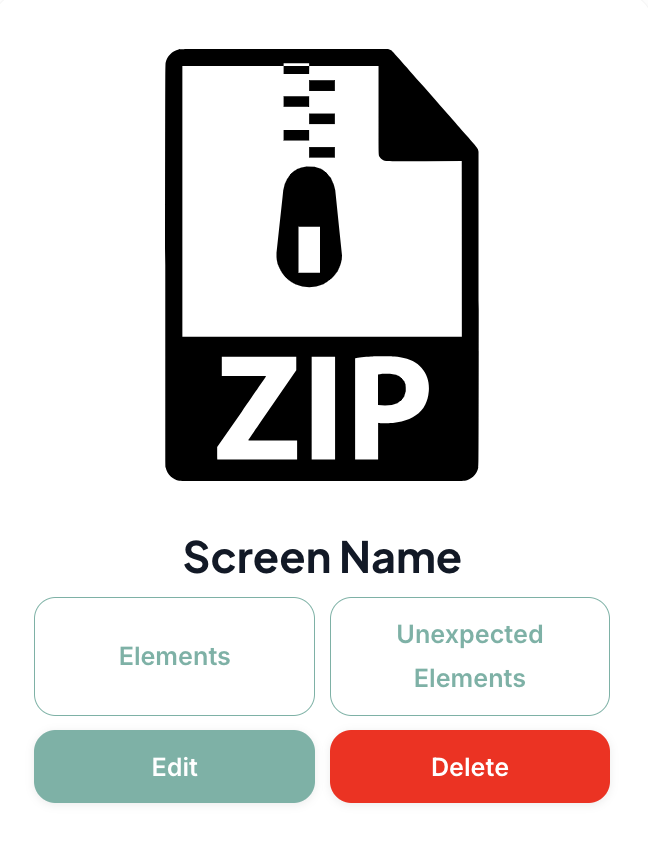
Click the "Elements" button to define the elements on the screen.
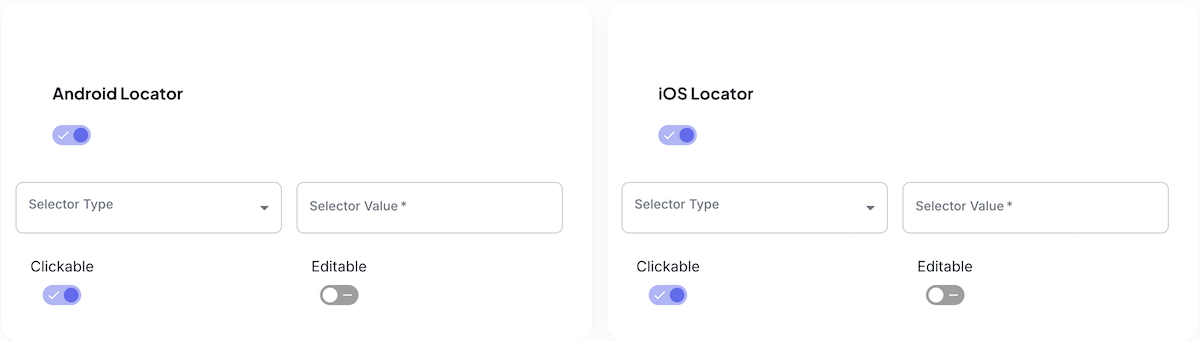
Set the Parameters on the Add Element page based on the data obtained with Appium Inspector.
Click to see detailed information on Adding Screens
4. Create Test Scenarios
-
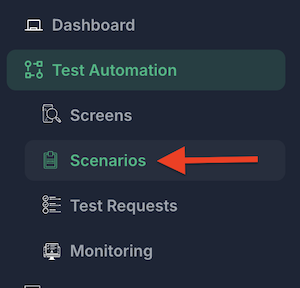
Click "Scenarios" in the left menu.
-
Click the "Create Test Scenario" button at the top left of the Scenarios page.

-
After clicking Create Test Scenario button, follow the below steps on the modal that opens:
- Type the scenario's name to be created in the "Scenario Name" textfield.
- In "Copy From" select "Don't Copy". (If copying will not be made from any scenario)
- Select the scenario from the "Copy From" dropdown if a scenario is copied from another scenario.
- If the "Copy from a range" button is set to true after selecting the scenario, specify the range of cases you will copy. The case step numbers should be written in the boxes next to the "Select a range" heading. The "To" point is not included in the new scenario.
- In the Select Folder field, the folder to which the scenario will be added should be selected. If there is no folder selection, the scenario will be saved to the Default Folder by default.
- To create the parameters to be entered during the test, the Add Custom Parameters button should be clicked and the Capability Name and Value fields should be filled.
- The "No-Reset"/"Full-Reset" buttons determine whether the application will be reset or not. (If the application is uninstalled and reinstalled while testing the scenario, "Full-Reset" should be selected.)
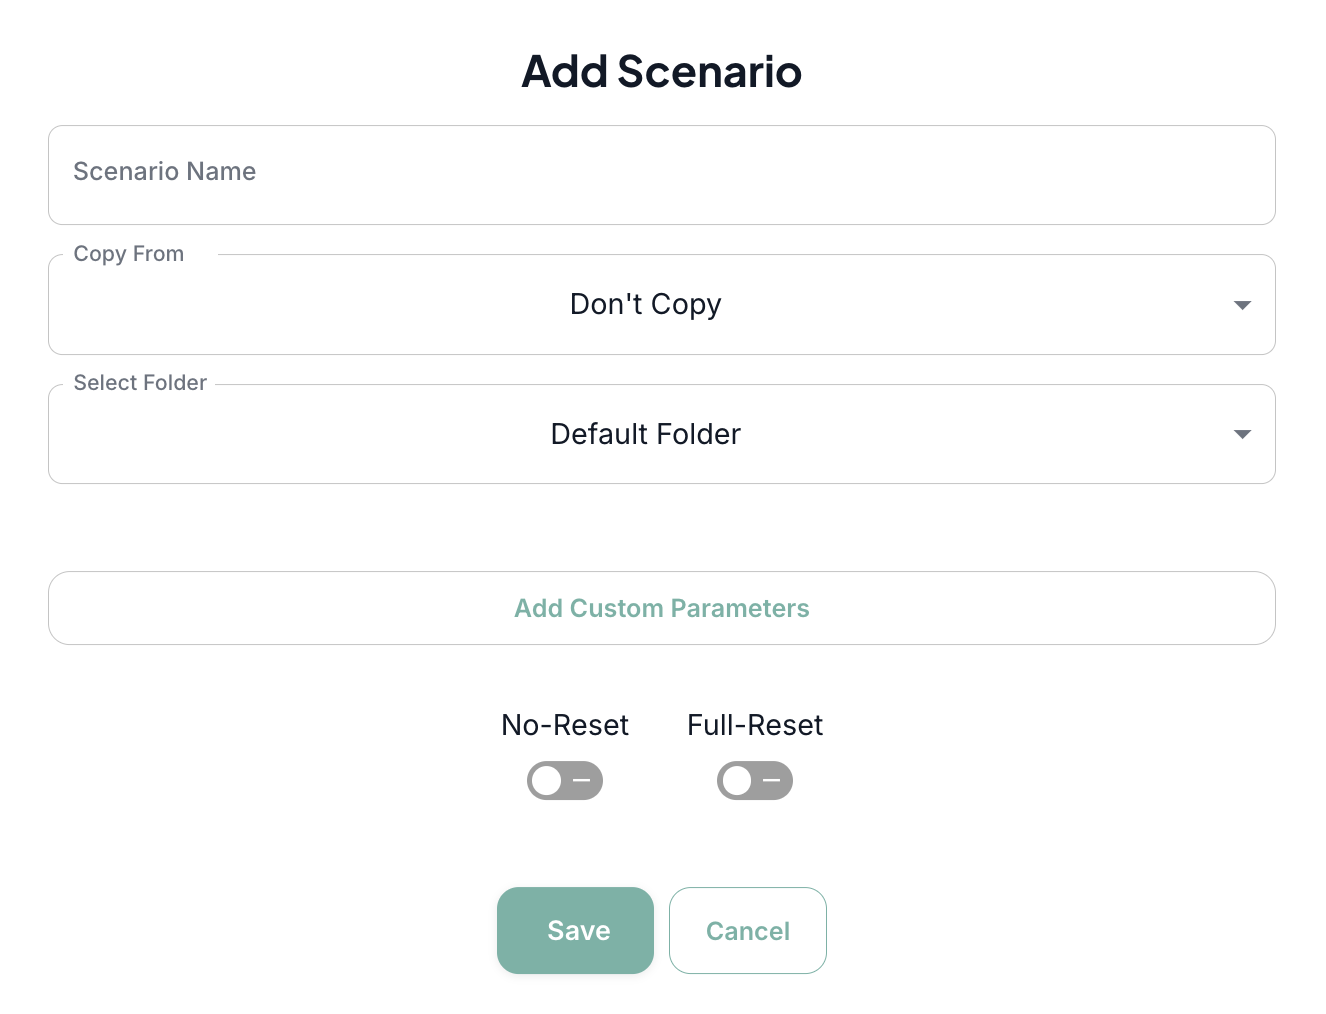
- Click the "Save" button to create scenario at the bottom of the modal.
-
Search the scenario created with the specified name in the specified folder. See that the scenario is created.
-
See that there are "Editor", "Edit", "Delete" buttons next to the scenario.
- Scenario can be deleted with the "Delete" button.
- With the "Edit" button, the parameters while creating the scenario can be changed.
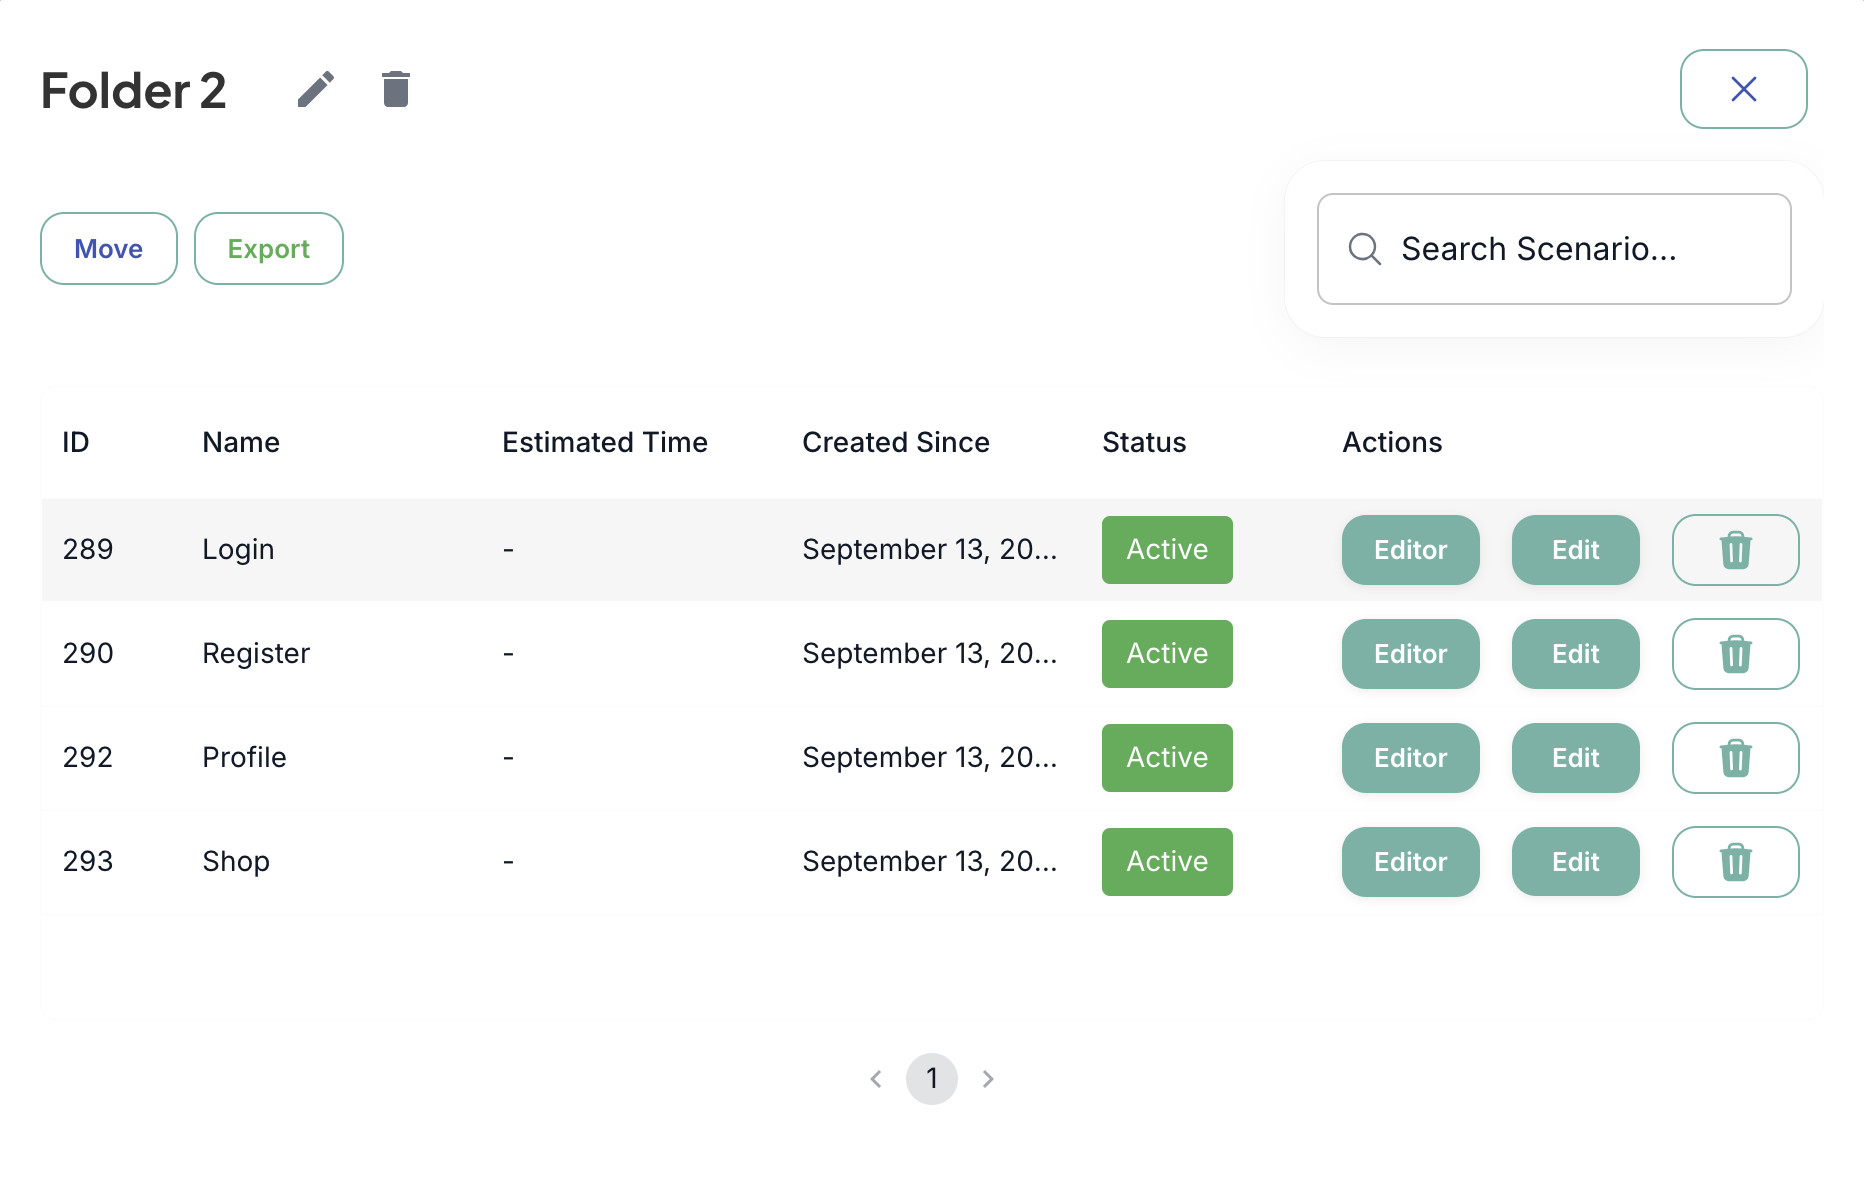
For Creating Scenario Script:
- Click on the "Editor" button.
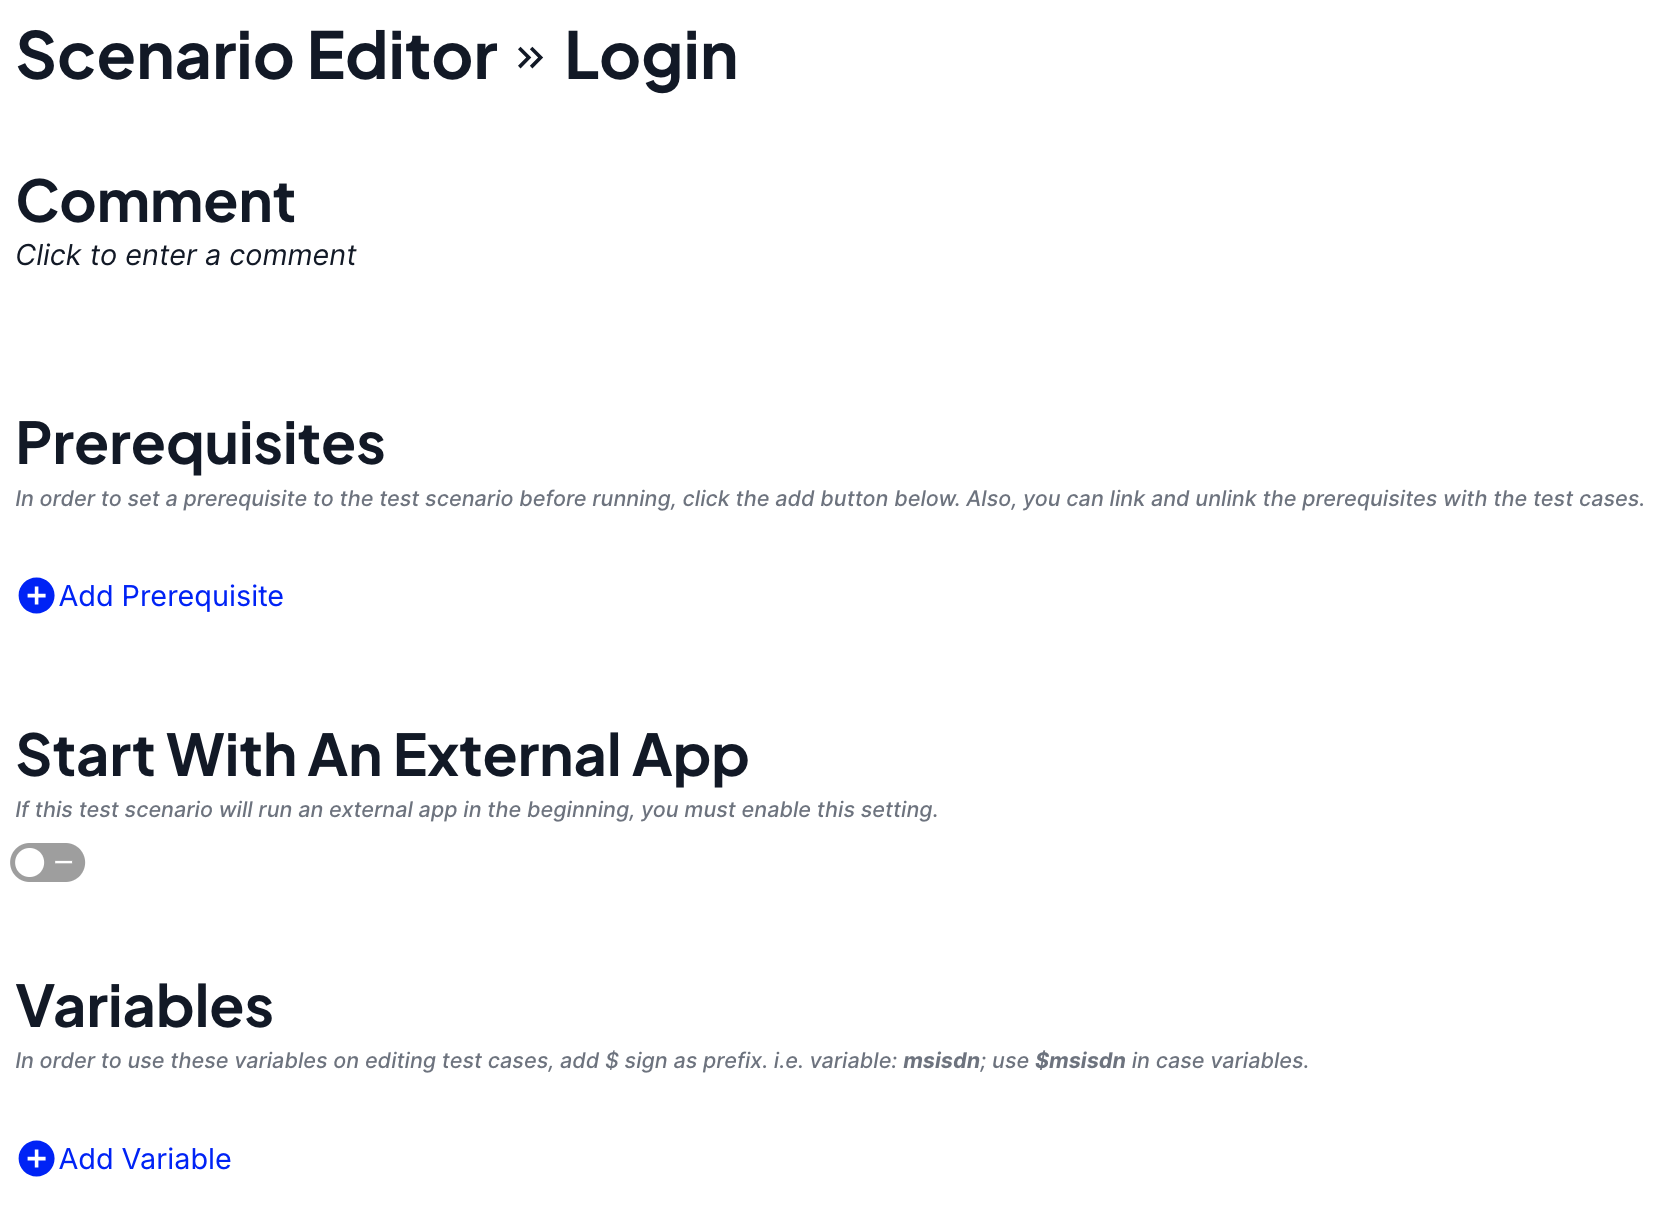
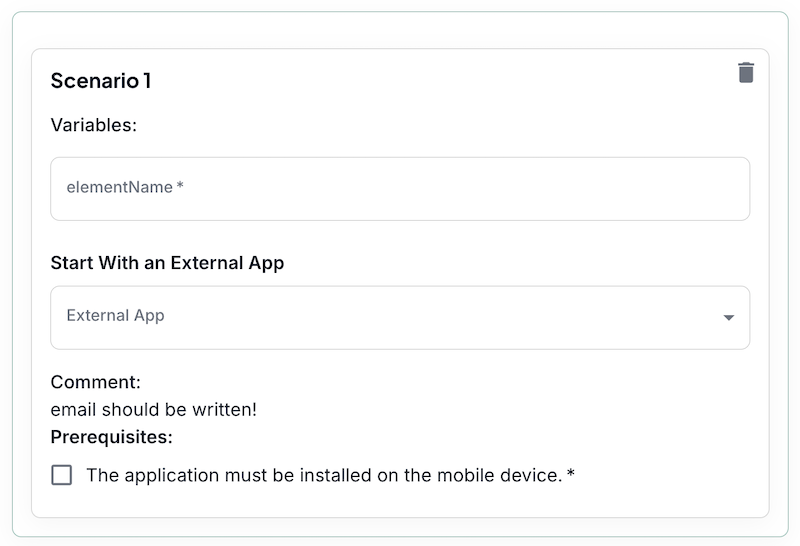
- In the Editor page, edit Comment, Prerequisites, Start With An External App, Variables sections and add Test Cases.
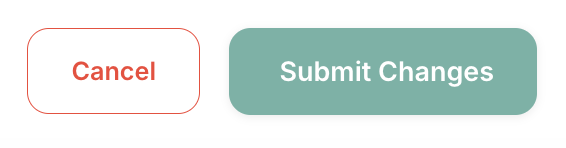
- After the scenario is completed, click the "Submit Changes" button to save the script.
Click to see detailed information on Creating Test Scenarios!
5. Add Local Device
If the Test will be run with Cloud Devices in TestMore, you can continue to the next step.
-
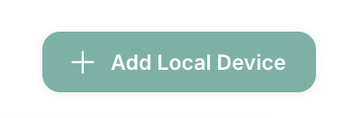
To run the test on your own physical device, please save the device information to the system using the 'Add Local Device' button on the Device List page.
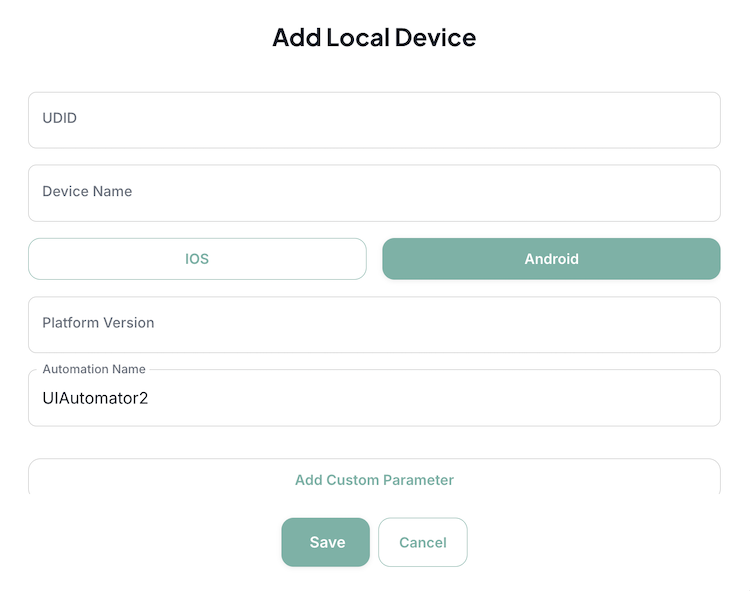
-
Set the information in the Add Local Device modal and save your device.
-
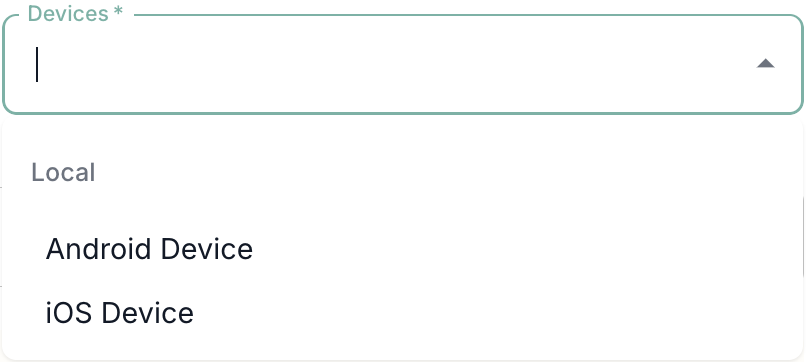
Select the device that you saved from the Local list of Devices dropdown on the Start Test Run page.
Click to see detailed information on Adding Local Devices!
6. Start Test Run
Finally, you can run the test following the below steps:
- Click the "Test Requests" section under the "Test Automation" heading in the navigation menu.

- Click the "Start Test Run" button on the right side of the Test Request page.
- Set the scenario information you run!
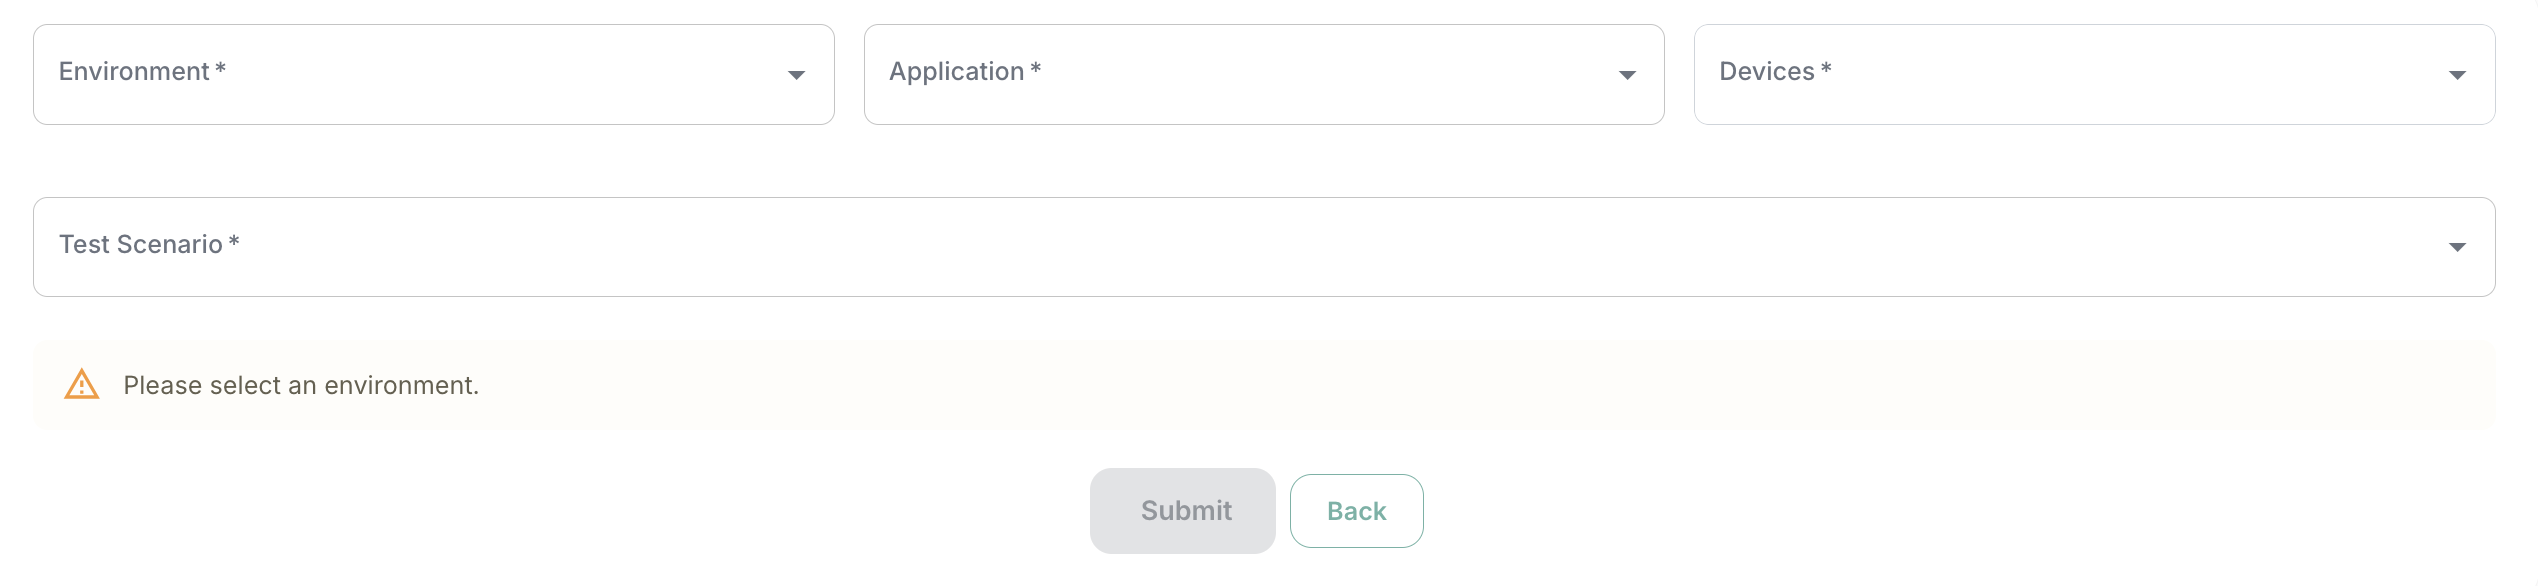
- Set the information for each test case you run!
- Click the "Submit" button. When the button is clicked, the selected scenario will be sent to the queue of the selected device.
- The test starts automatically if the device is available.
Test Result
- The test we added to the "Test Requests" list is displayed at the top.

- This list shows run-test scenario information.
- Status is displayed and the run can be stopped cancelled or used again.
- You can view the test run result under the Result sub-heading. You can also click the result text to access the test result screen and see it in detail.

Click to see detailed information on Creating Test Run!
Explore No-Code Test Experience on TESTMORE