Test Request
-
Click the "Test Requests" section under the "Test Automation" heading in the navigation menu.

-
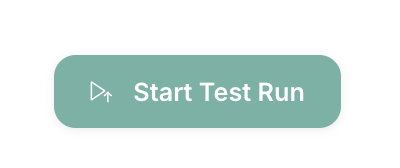
Click the "Start Test Run" button on the right side of the Test Request page.
-
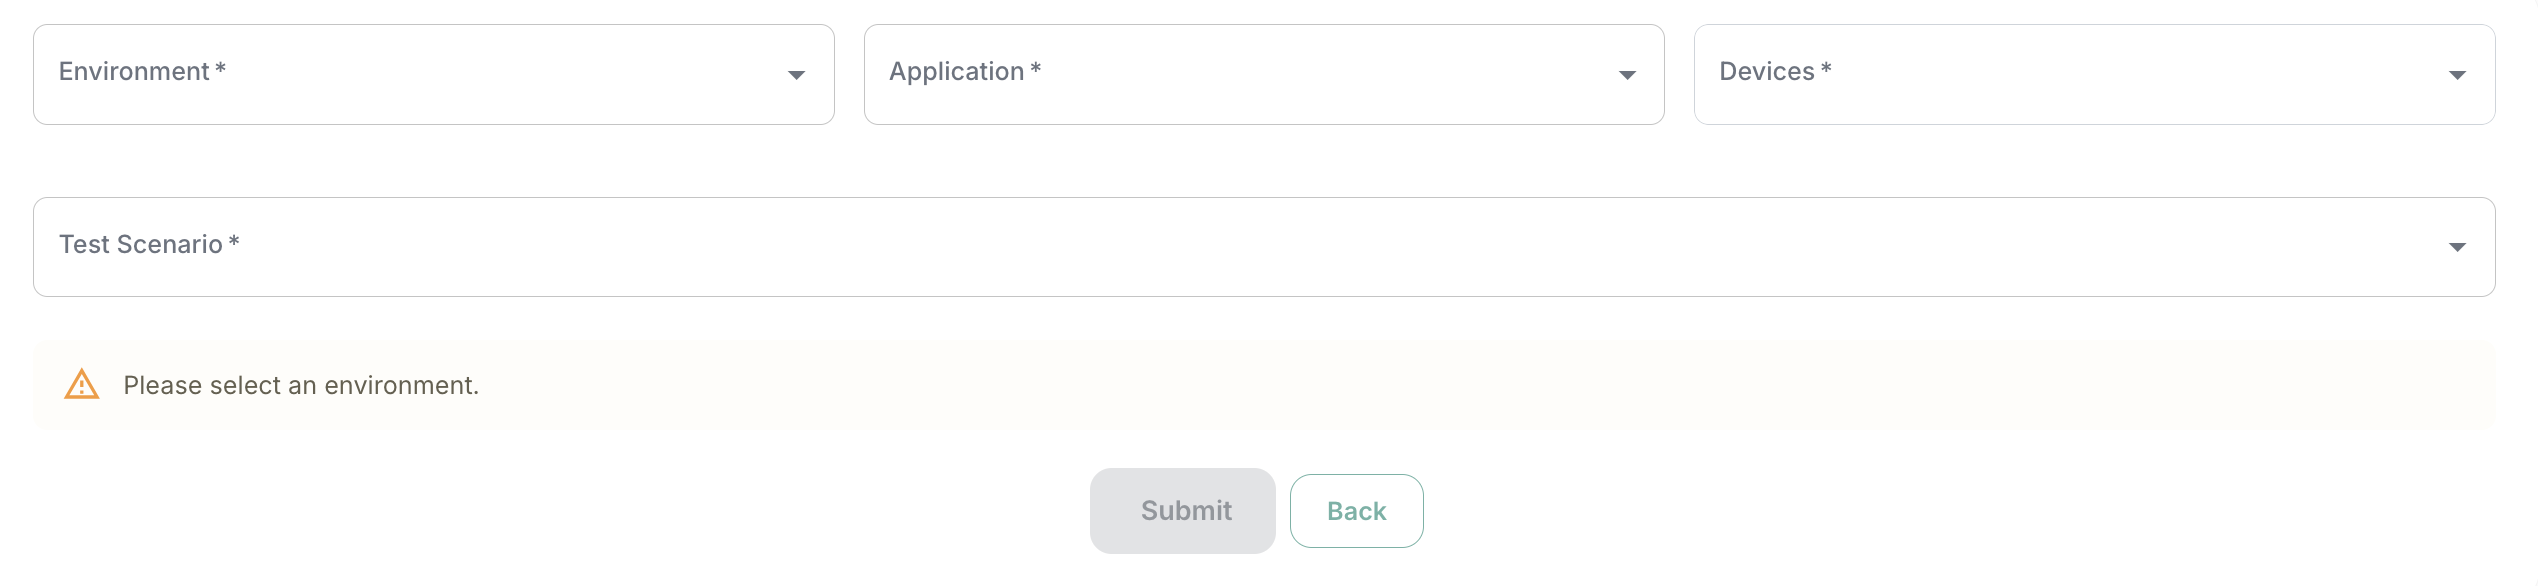
Select one of the Staging, Test and Production environments where the test can be run from the "Environment" dropdown.
-
Select the previously added application from "Apps" page to run the test.
-
In the “Device“ dropdown, select the Local or Cloud devices you want to run the test on.
-
Choose which scenarios to run from Test Scenario dropdown. Previously added scenarios are displayed.
-
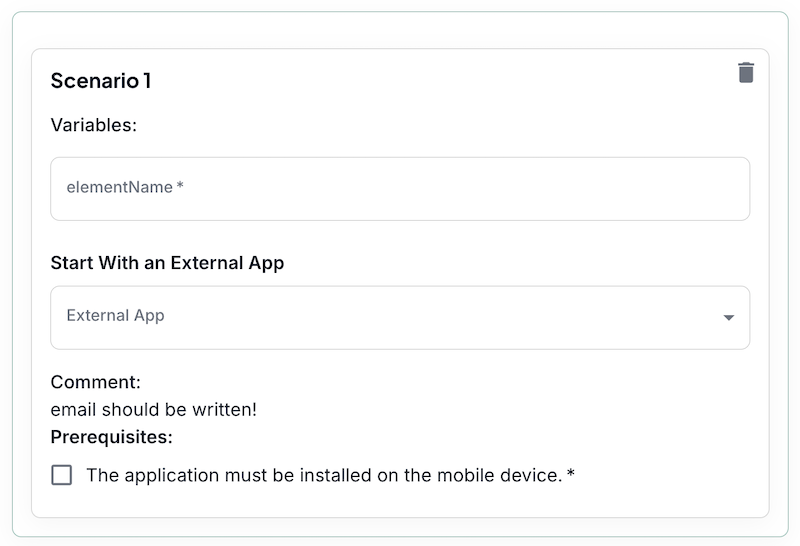
If a variable is used for the selected scenario, enter the variable value in the Variables section.
-
If there is an external application to be used while running the test, choose it.
-
If there are explanations you should be aware of for the selected scenario, It will be displayed under the "Comment" heading.
-
Read the "Prerequisites" one by one and fulfil the requested ones. When you meet the desired conditions, mark the checkbox for that conditions. Do not start the test run before all prerequisites are met.
-
Click the "Submit" button. When the button is clicked, the selected scenario will be sent to the queue of the selected device.
The test starts automatically if the device is available.
If It's not, the test will be run when the device becomes available.
- If a test remains in the queue for more than 24 hours without being executed, its status will automatically be changed to Cancelled.
- If the app selected during test creation is deleted from the Apps, all pending test requests associated with that app will also be marked as Cancelled.
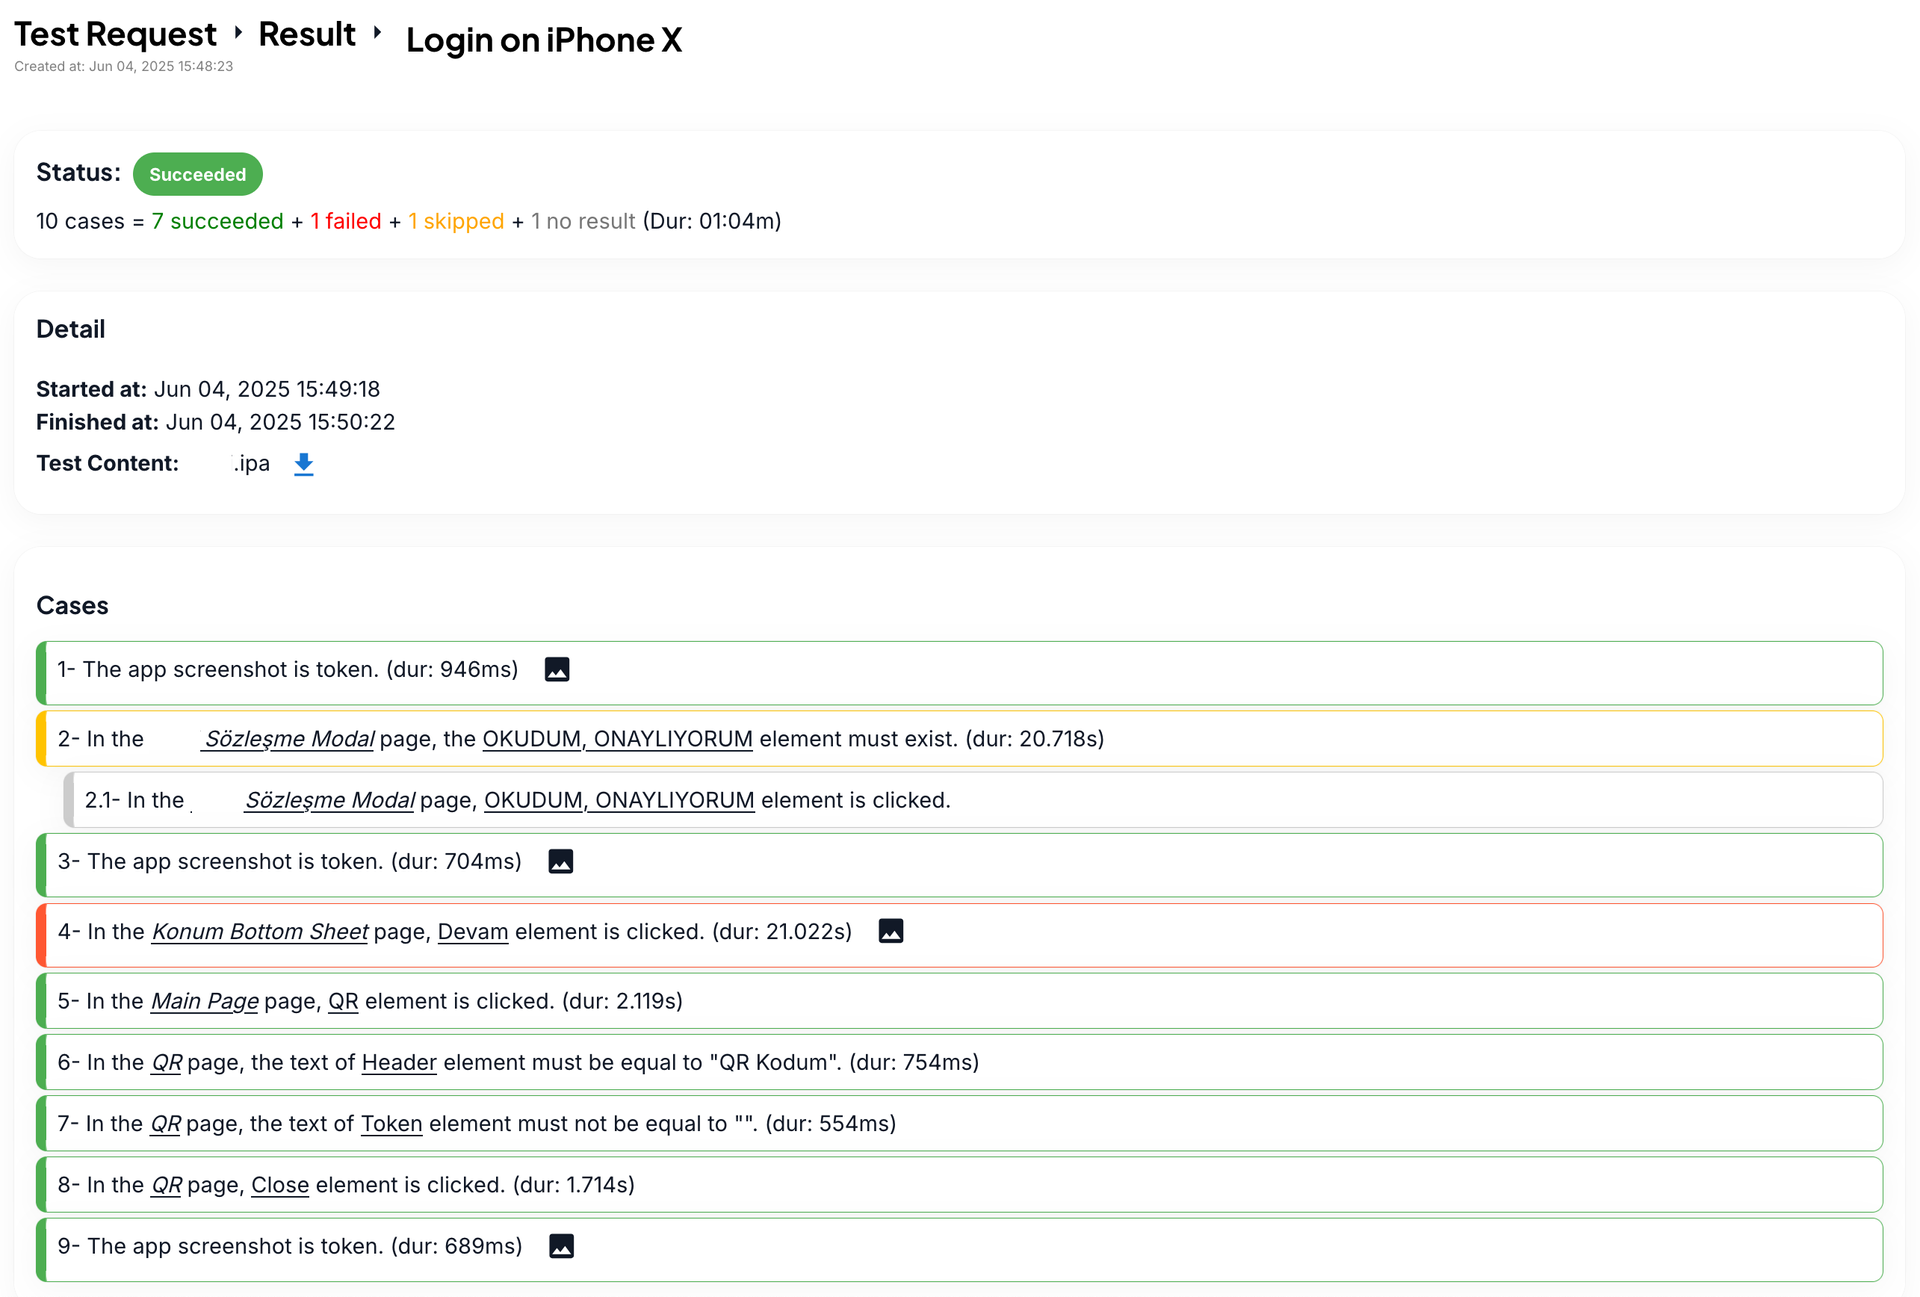
Test Result
- The test we added to the "Test Requests" list is displayed at the top.

- This list shows run-test scenario information.
- Status is displayed and the run can be stopped cancelled or used again.
- You can view the test run result under the Result sub-heading.

- You can click the result text to access the test result screen and see it in detail.